Lab 5-3: Adding DNs, Phones, and Users with Cisco Configuration Professional (CCP)
Scenario
JRI would like the office manager to add users and phones without having to use the command line for configuration. Ideally, JRI wants to be able to access the configuration from any PC without installing client software.
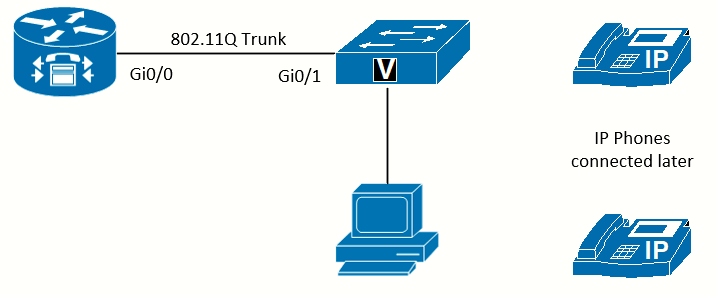 Topology used in this lab
Equipment Required
- Cisco 2821 router
- Cisco 3560 router
- Lab configuration from Lab 4-1
- PC with CCP installed
- Two or more IP Phones
Objectives
- Configure telephony services in CUCME
- Register phones and users with CCP
- Place phone calls between two or more phones in the same system
Task 1: Load Prior Configurations
This lab is based on the configuration from Lab 4-1. If necessary, load the configuration for both the switch and router. However, do not connect the phones to the switch until later. Connect a PC to the switch and verify that it can ping the router and switch management addresses. Troubleshoot if necessary.
Ensure NTP is working properly before proceeding with the lab.
Task 2: Configure Telephony Settings
As noted in Lab 5-1 and Lab 5-2, telephony-service (called Telephony Settings in CCP) is where settings that impact the entire CUCME system are configured. There are settings that must configured before phones can register.
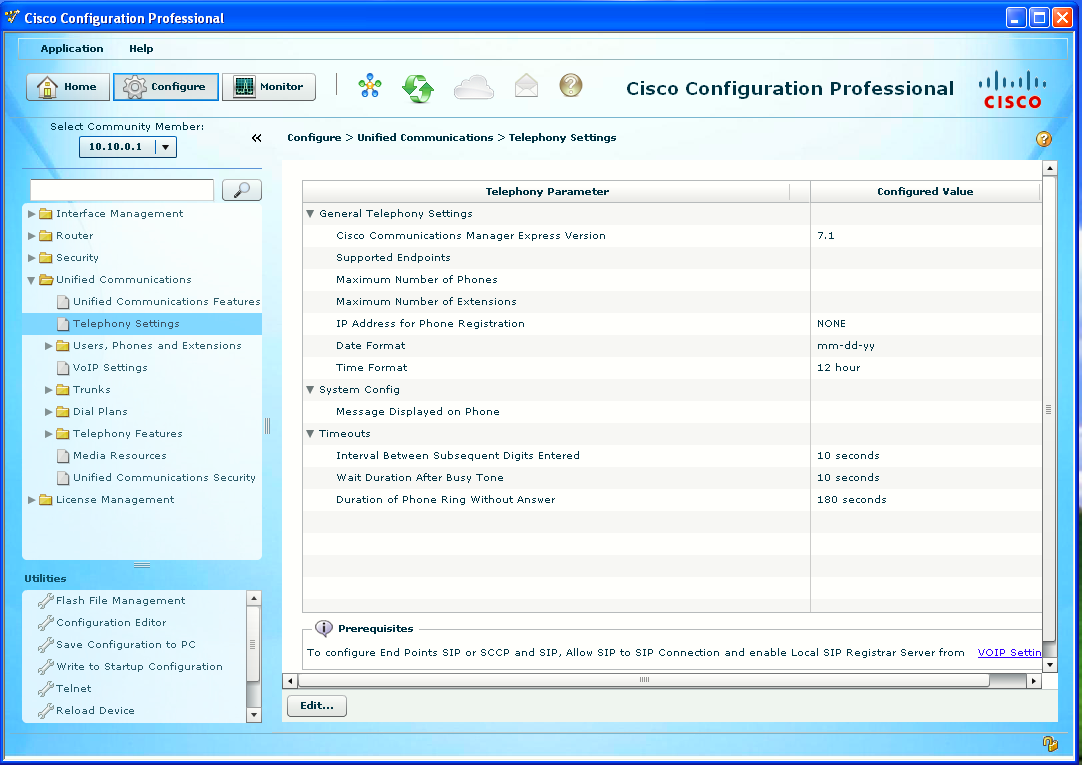
View Telephony Settings
If Lab 4-1 is completed, you should have CCP open and in the Configuration portion of CCP. Click the Unified Communications folder icon to expand the subitems. Click the Telephony Settings subitem. In the Telephony Settings pane on the right are the current telephony parameters.
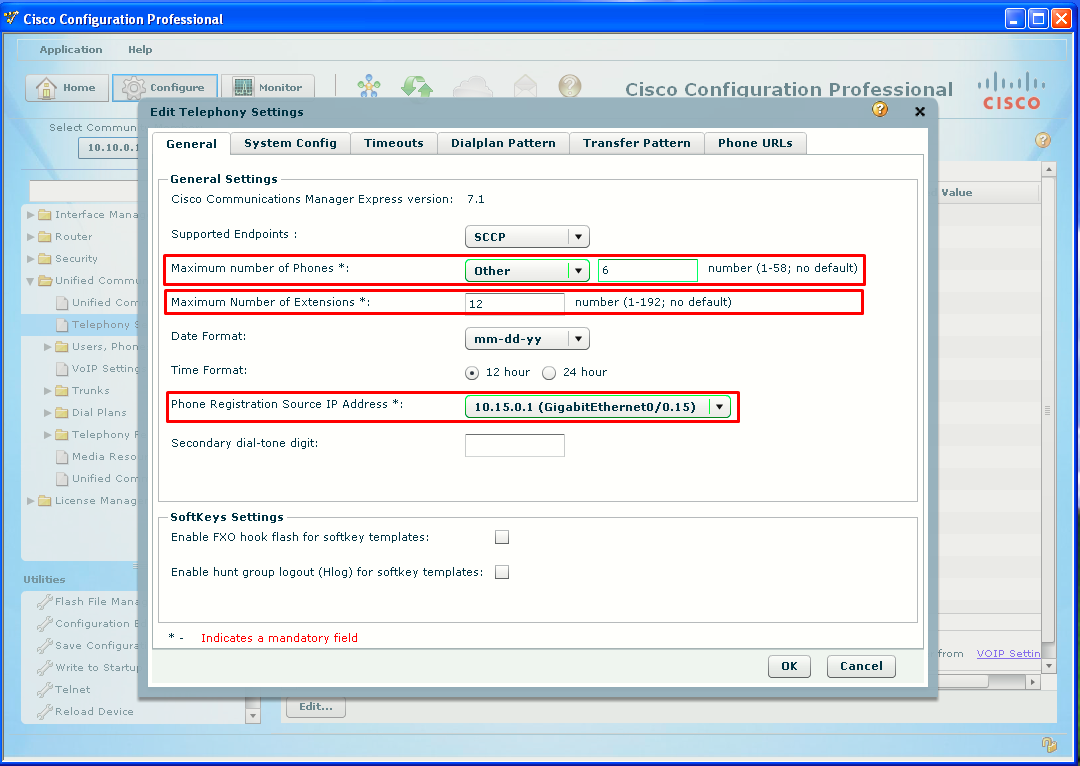
Edit General Telephony Settings
Click the Edit button at the bottom of the screen. The Edit Telephony Settings window will open with the General tab selected.
- Click the Maximum Number of Phones pull-down menu to select Other.
- Enter 6 in the Number field (25 and 50 are listed values, as they match common license sizes).
- Enter 12 for the Maximum Number of Extensions field.
- Click the Phone Registration Source IP Address pull-down menu to select the voice subinterface IP address (10.15.0.1).
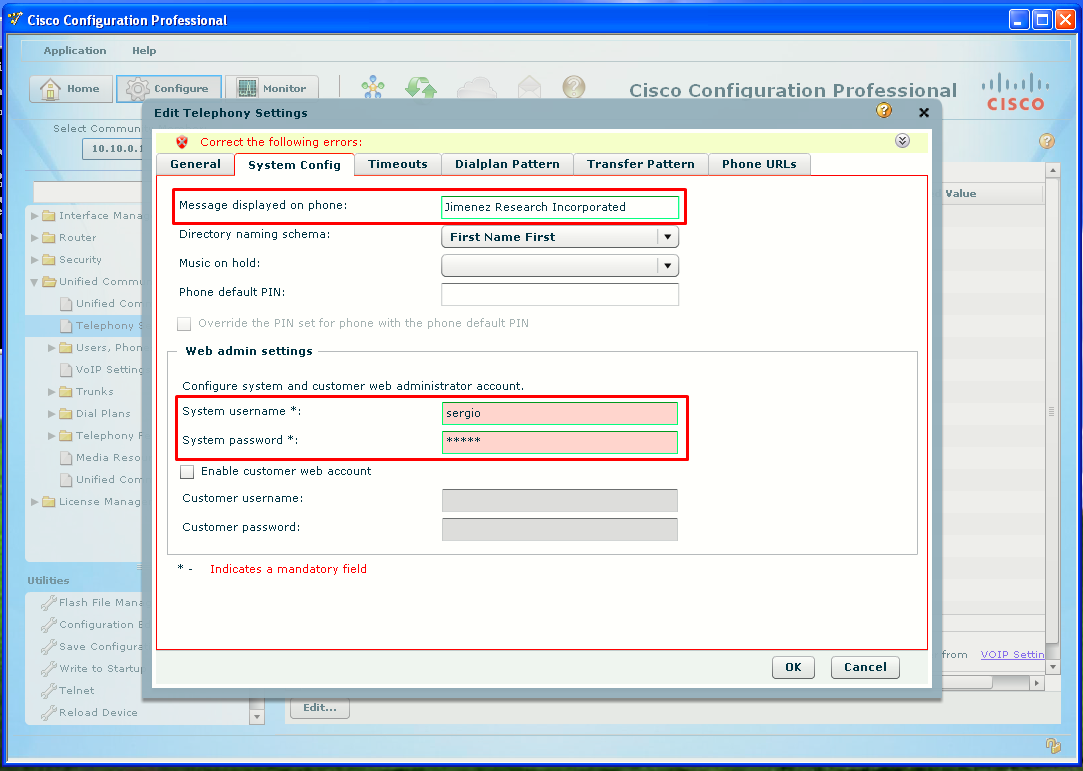
Edit System Config Telephony Settings
Click the System Config tab in the Edit Telephony Settings window.
- Enter company name on Message displayed on phone field (Jimenez Research Incorporated, in my case).
- Fill System username and System password with a username/password pair of your like.
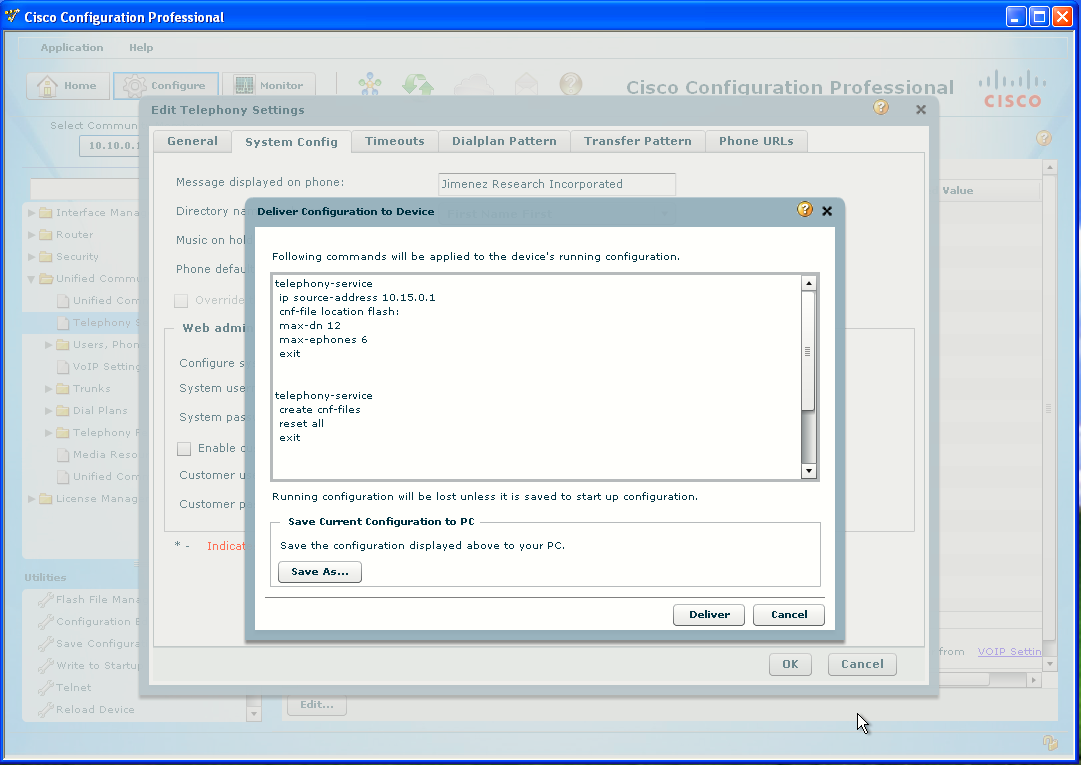
- Click OK. A confirmation dialog box will open warning that the phone(s) will need to be reset. Click Yes. Deliver the config.
Task 3: Configure Extensions
It is easier to create extensions first, so when creating phones, the extensions can be added at that time.
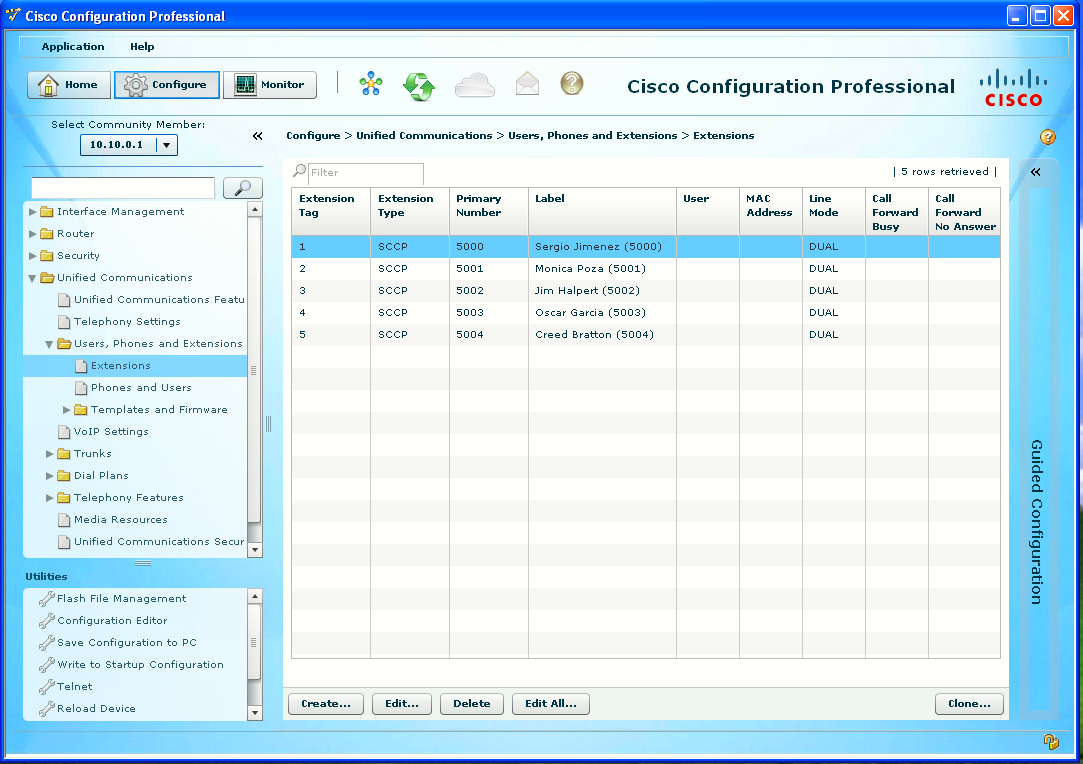
View Extension Settings
Under the Unified Communications folder icon, click the Users, Phones and Extensions folder icon to open the subitems. Click the Extensions subitem.
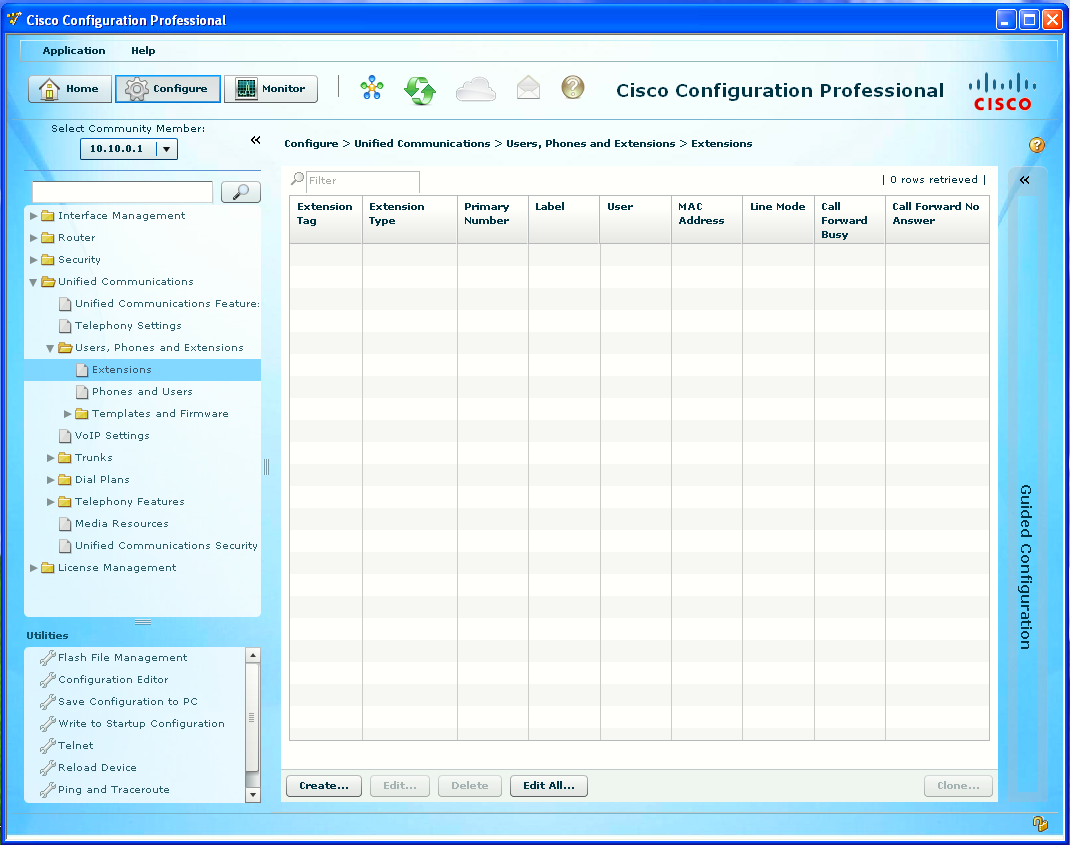
Create Extensions
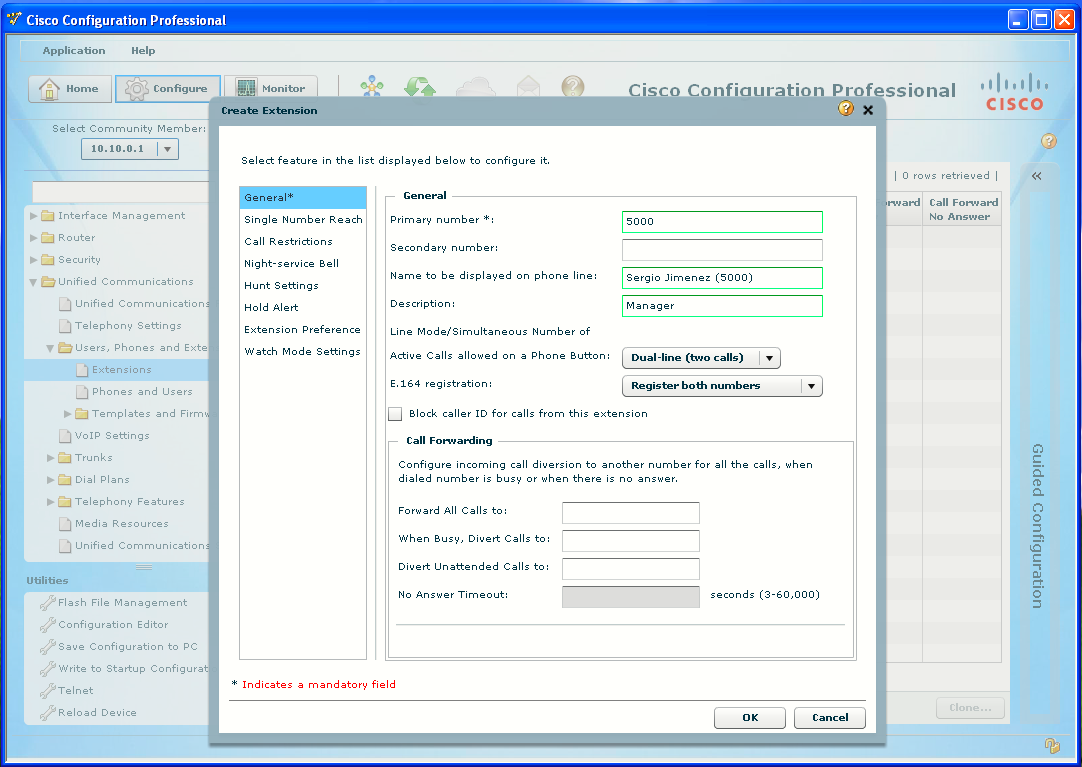
Click the Create... button at the bottom of the window. The Create Extension window will open with the General feature list selected (on the left).
- Enter the first extension in the Primary Number field.
- Enter the name and, in parentheses, the extension number in the Name to Be Displayed on Phone Line field (this will show on the display next to the line button, the same as the CLI label command).
- Enter Supervisor in the Description field (this will show at the top of the phone display, the same as the CLI description command).
- Repeat steps to create additional extensions, and deliver the configuration when done.
Configure Phones and Users
If extensions are created first, they can be added to the phone during phone creation.
View Phone/User Settings
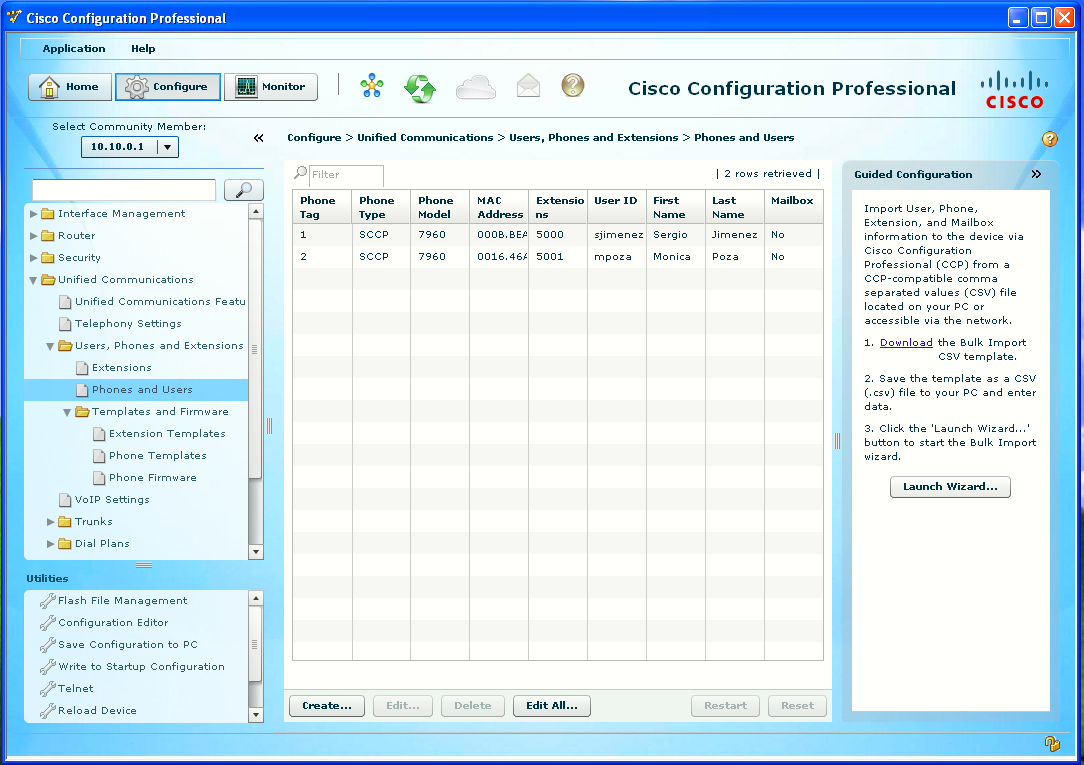
Go to Unified Communications > Users, Phones and Extensions > Phones and Users subitem.
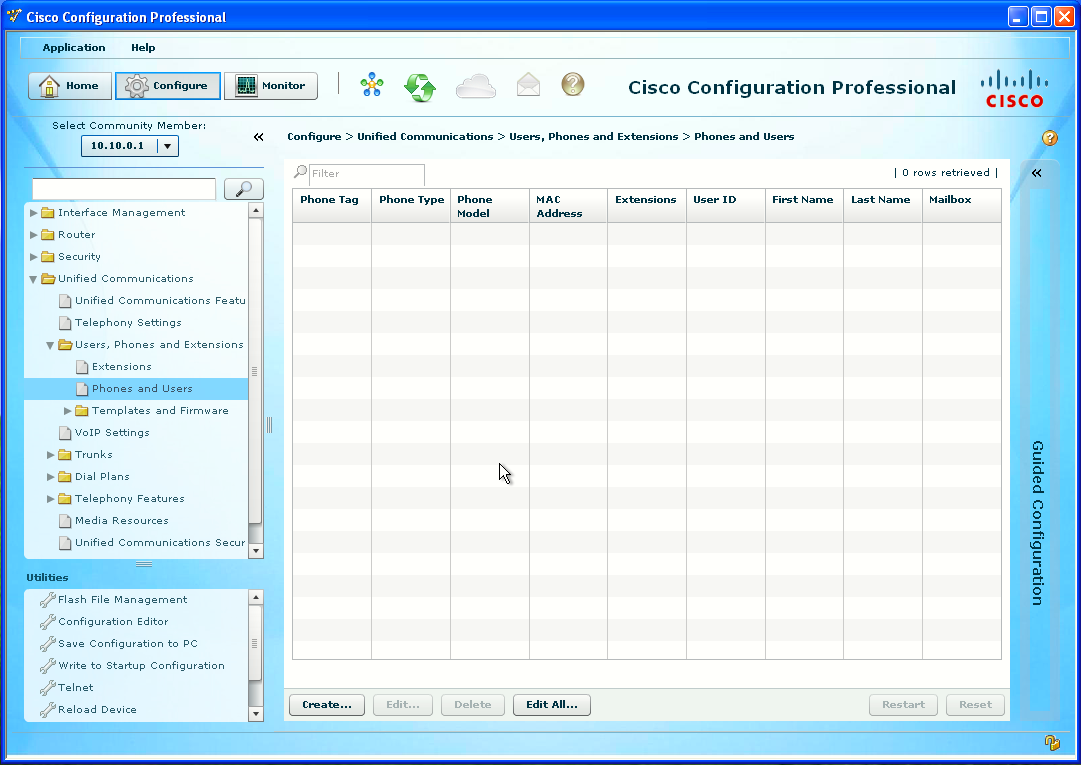
Create a Phone
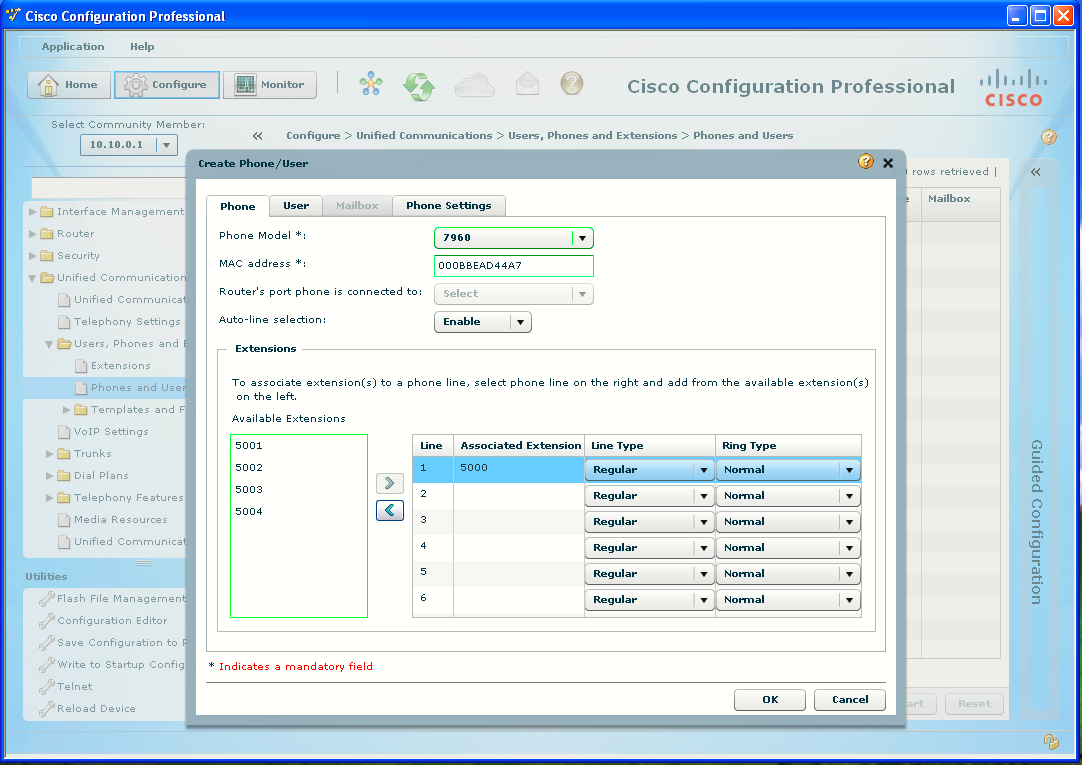
Click the Create... button at the bottom of the window. The Create Phone/User window will open to the Phone tab:
- Click the Phone Model drop-down list to select the model of the first phone.
- Enter the MAC address of the first phone in the MAC Address field.
- In the Extensions area, click the first extension number under Available Extensions and then click the Move (>) button to place it on Line 1.
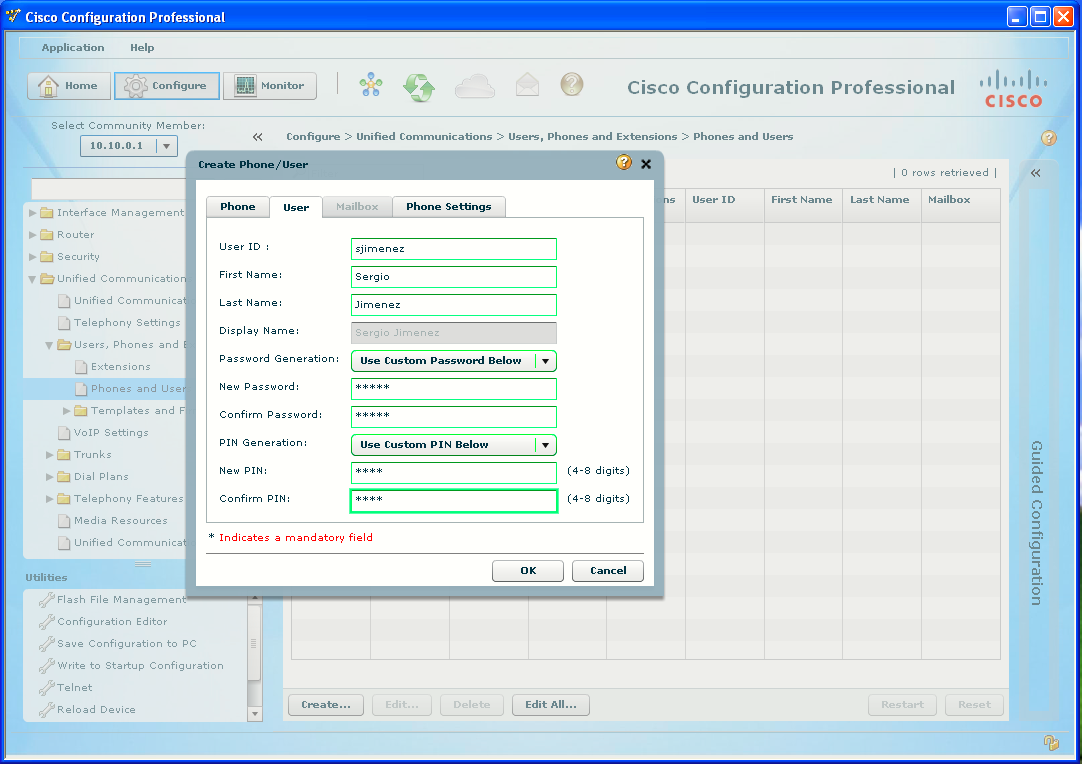
Task 4: Create a User
Click the User tab in the Create Phone/User window:
- Enter a username according to what was configured in the corresponding extension.
- Enter the first name and last name in their respective fields.
- Click the Use Custom Password Below from the Password Generation drop-down list.
- Enter cisco for the New and Confirm Password fields.
- Click Use Custom PIN Below from the PIN Generation drop-down list.
- Enter 1234 for the New and Confirm PIN fields.
- Repeat the steps for another user.
- Click the OK button, confirm and deliver the configuration.
Test and Save Configuration
Make some calls. The phones will operate in much the same way as they did in Lab 5-2.
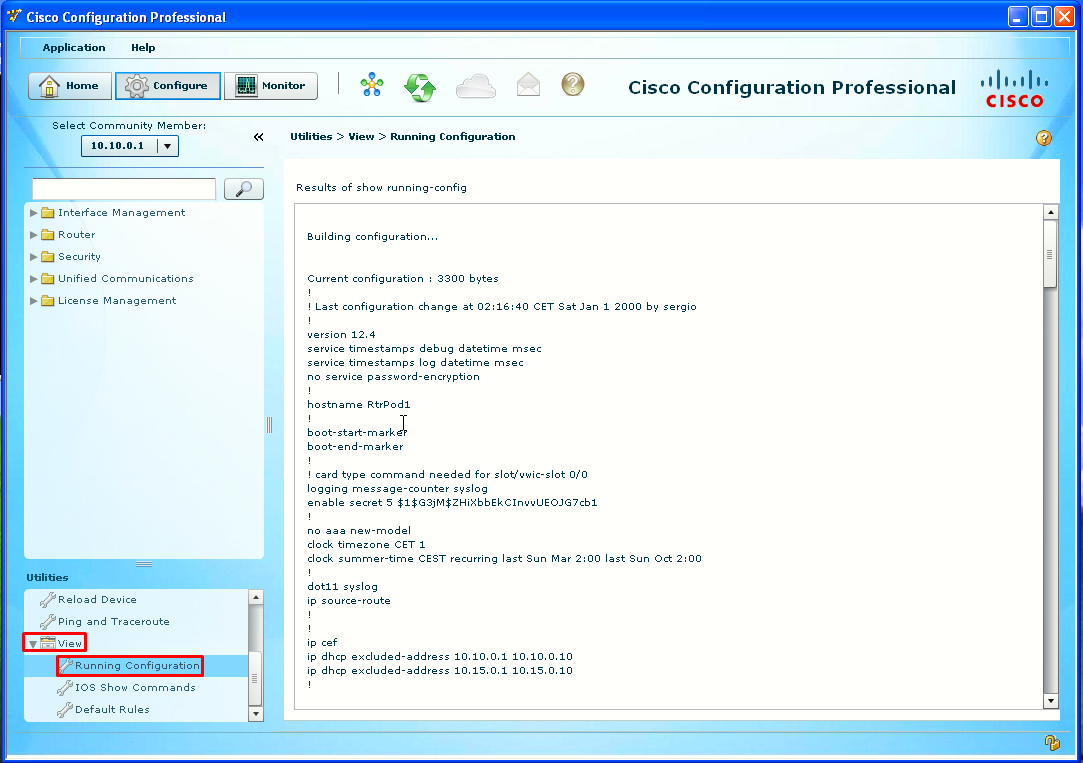
To see the running configuration of the router and save it: