NPM: Use Cases + Installation and Configuration
Introduction
Nginx Proxy Manager is a tool that provides a web-based interface to manage Nginx reverse proxies. It enables users to easily and securely expose their services to the internet by providing features such as HTTPS encryption, domain mapping, and access control. It eliminates the need for manual configuration of Nginx reverse proxies, making it easy for users to quickly and securely expose their services to the public.

In my Home 2 network, I have multiple services running on different IP addresses and ports (for example, Bookstack on a Raspberry Pi at 10.0.40.25, Technitium on 10.0.30.11, vCenter on 10.0.10.13, etc.).
I installed Nginx Proxy Manager to act as a Reverse Proxy and Traffic Cop for my network. My specific use cases are:
-
Centralized SSL/HTTPS Management: Instead of manually installing, configuring, and constantly renewing Let's Encrypt SSL certificates on every single separate machine (like my Raspberry Pi, Proxmox nodes, or individual VMs), NPM acts as the single gatekeeper. It holds the valid Let's Encrypt certificates. When I connect, my browser gets a secure HTTPS connection from NPM, and NPM securely talks to my backend services over plain HTTP on the local network.
- Port Unification (The Gateway): Web traffic natively uses port 80 (HTTP) and port 443 (HTTPS). Without a reverse proxy, if I wanted to access different services from outside my house, I would have to open a dozen different ports on OPNsense (e.g.,
publicip:8080,publicip:3001). With NPM, I only expose ports 80 and 443 to the internet. NPM inspects the incoming domain name (e.g.,kuma.sergio-jimenez.netvssergio-jimenez.net) and routes the traffic to the correct internal IP and port automatically. - Friendly Internal URLs: It allows me to map clean domain names to obscure IP/port combinations, making it incredibly easy to navigate my homelab from my couch.
Installation
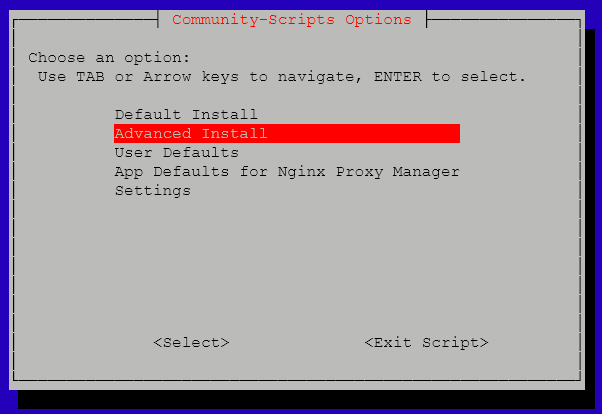
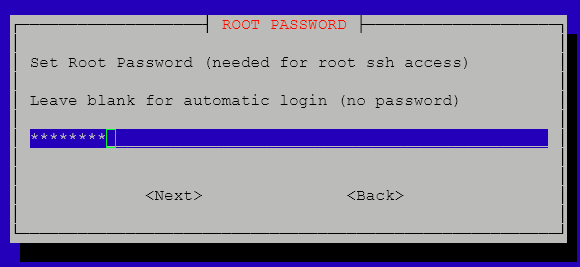
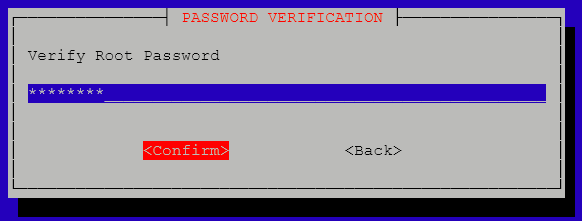
I used one of the most popular, time-saving shortcuts in the entire Proxmox community: the tteck Proxmox VE Helper-Scripts (now maintained by the community-scripts ORG on GitHub).
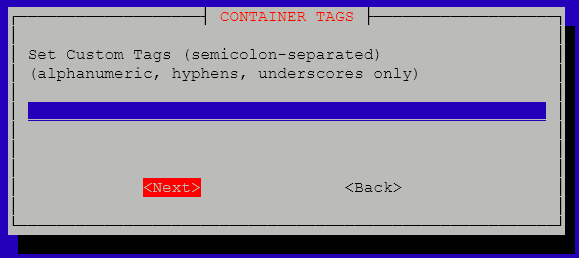
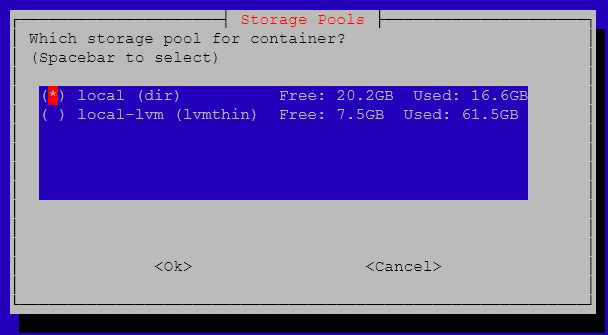
Instead of manually setting up the LXC container, configuring permissions, installing Docker, and writing out the YAML config from scratch, I used an automated bash script that built the whole environment in under two minutes.
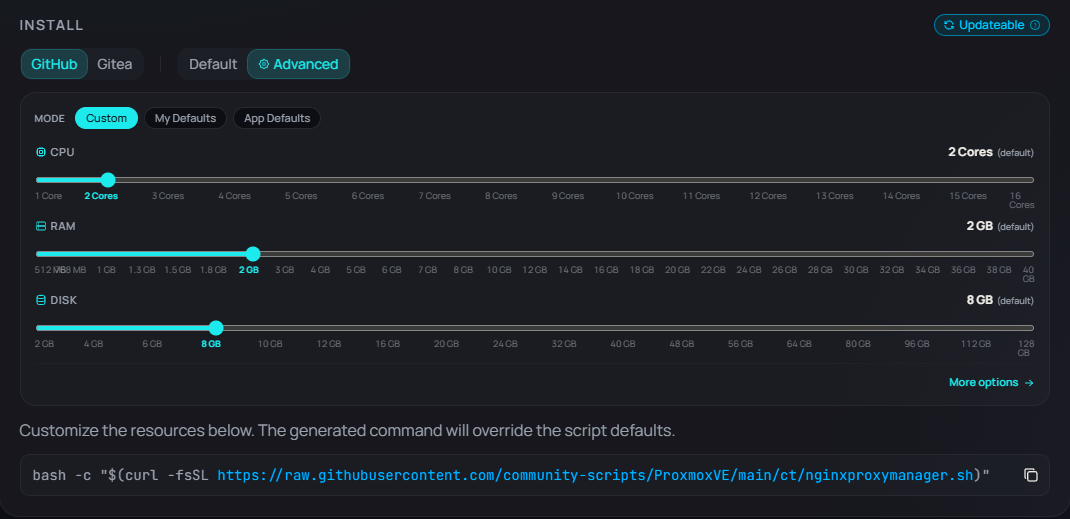
I went to Proxmox VE web UI, clicked on the Proxmox Node (not an individual VM, but the hardware host shell), opened the Shell console, and pasted this exact command:
bash -c "$(curl -fsSL https://raw.githubusercontent.com/community-scripts/ProxmoxVE/main/ct/nginxproxymanager.sh)"|
|
|
|
|
|
|
|
|
|
|
|
|
|
|
|
|
|
|
|
|
After the scripts completes successfully, I am able to see on the latest line of the verbose output, the IP and port where the GUI is accessible. From there, I create the WEB GUI admin account:
✔️ Initialized Backend
✔️ Created Service
✔️ Started Services
Reading package lists... Done
Building dependency tree... Done
Reading state information... Done
0 upgraded, 0 newly installed, 0 to remove and 0 not upgraded.
Reading package lists... Done
Building dependency tree... Done
Reading state information... Done
✔️ Cleaned
✔️ Completed successfully!
🚀 Nginx Proxy Manager setup has been successfully initialized!
💡 Access it using the following URL:
🌐 http://10.0.30.242:81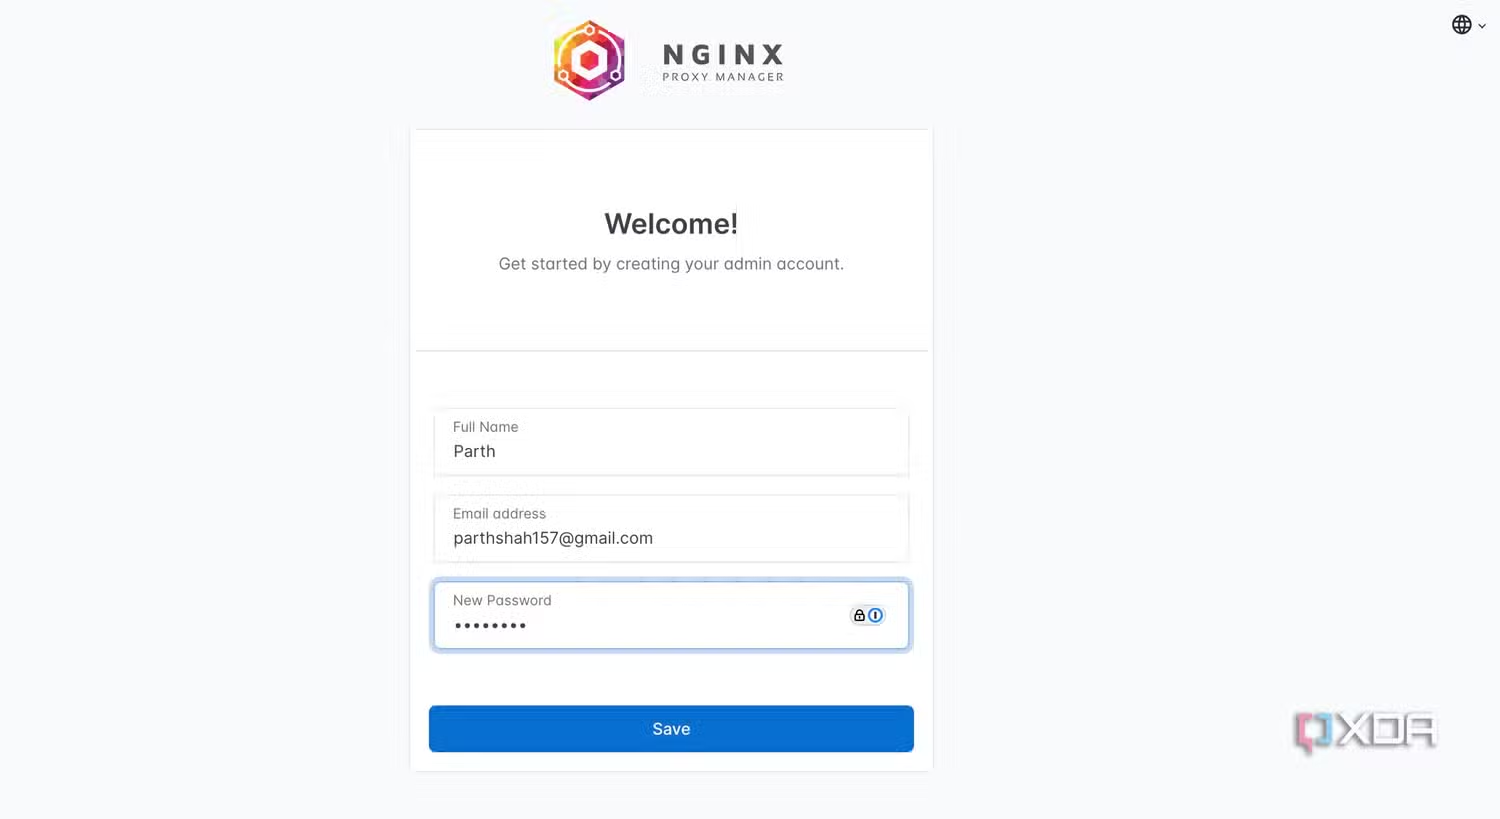 Sample Welcome Screen
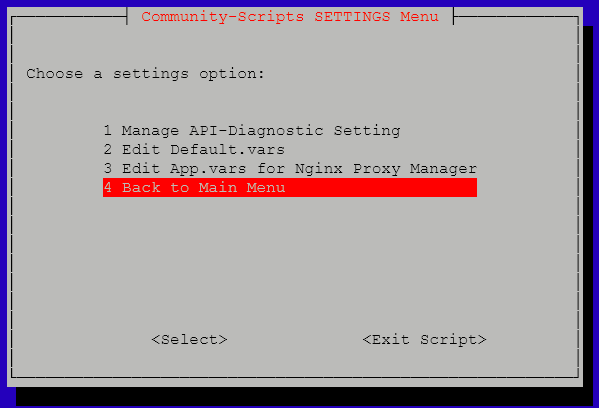
Configuration
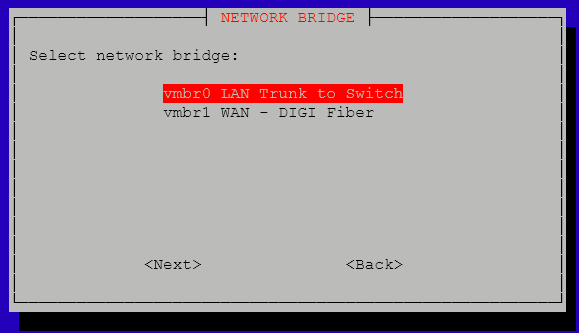
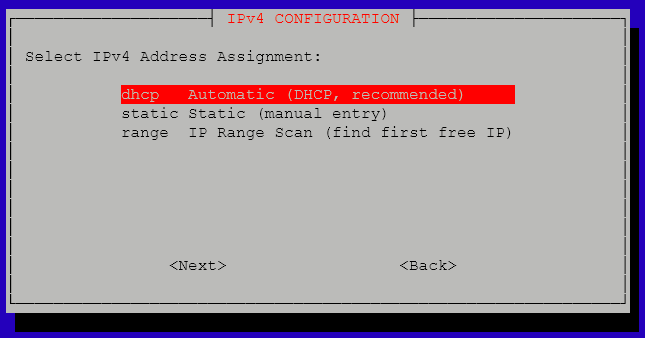
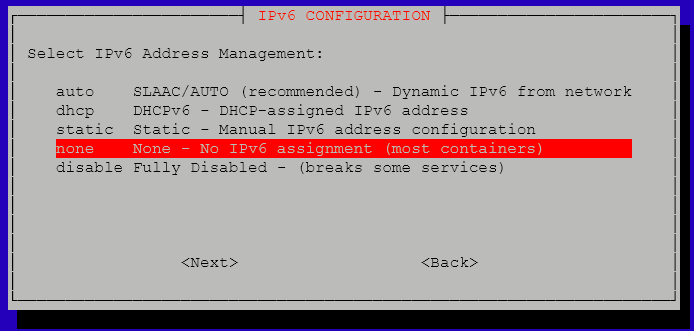
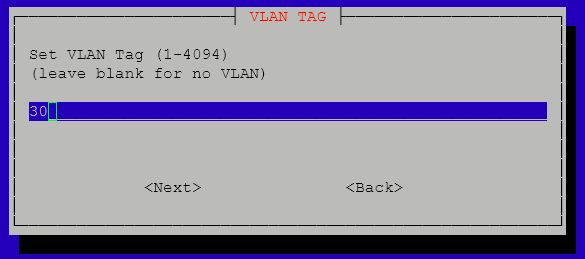
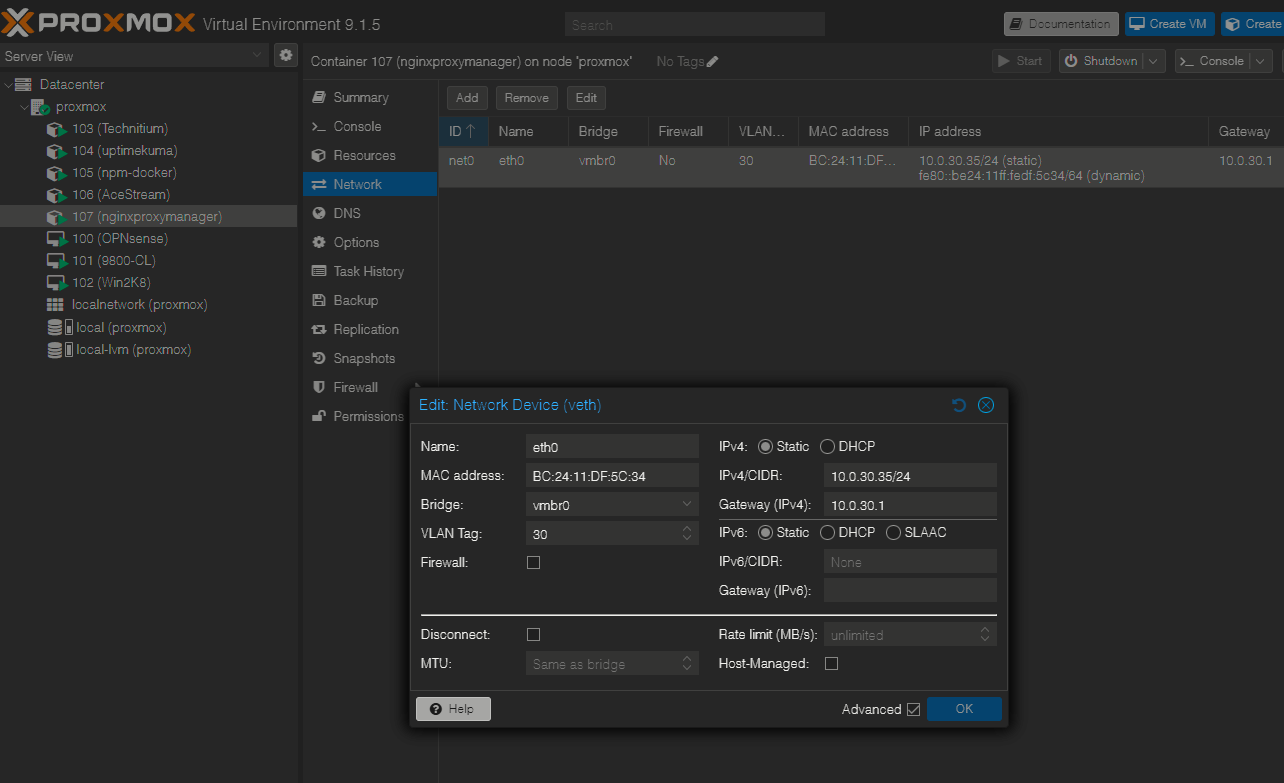
I'll set an static IP address instead of the current IP that was obtained via the DHCP server. I'll just edit the container network interface and set it manually:
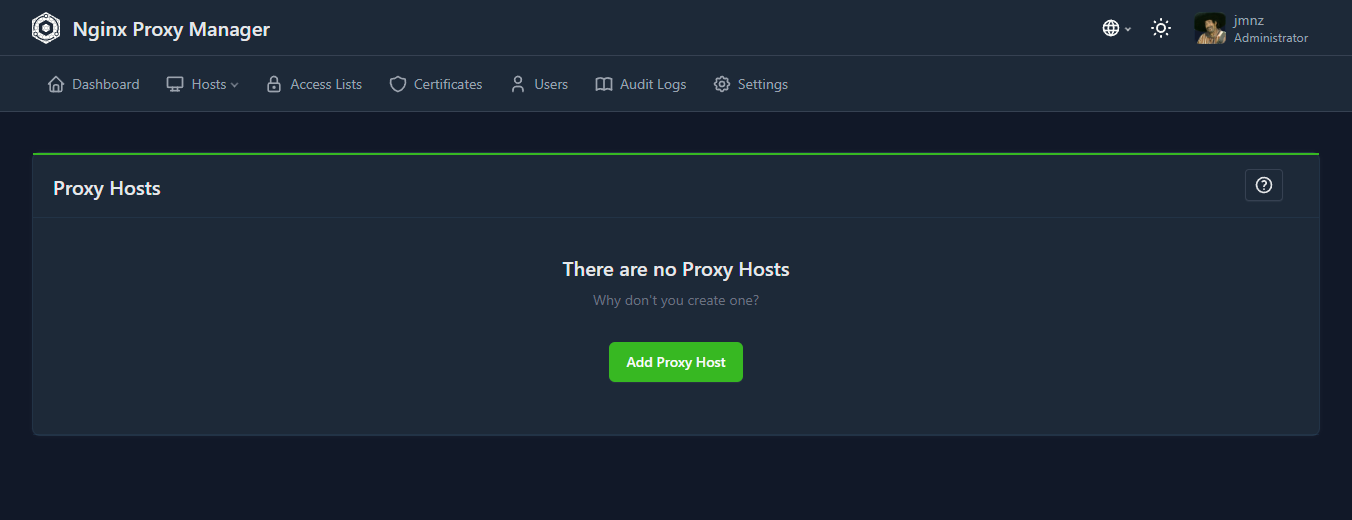
To add proxy host, just click the button located on Hosts > Proxy Host:
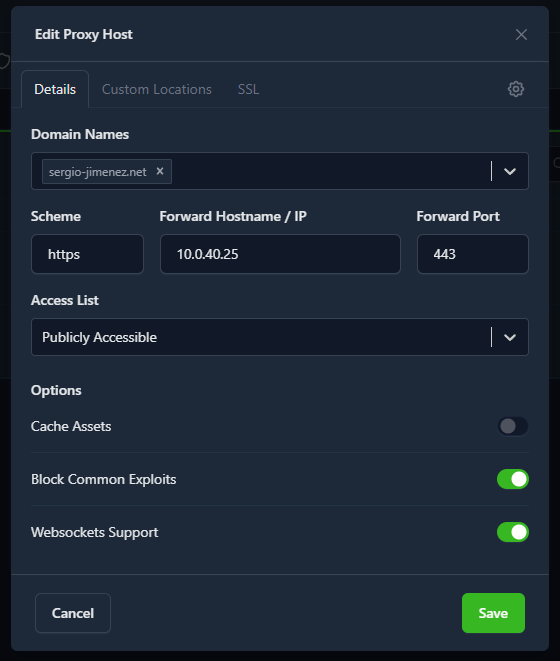
And configure the proxy host as follows:
|
|
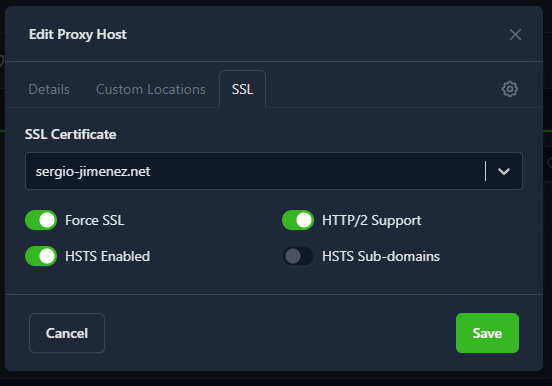
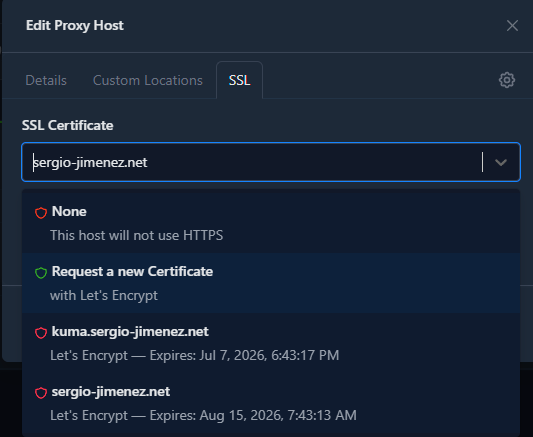
For the SSL certificate I would first select "Request a new Certificate" on the SSL tab dropdown, as seen in the next image. I just selected the certificate here cause I had already requested it. |
|
|
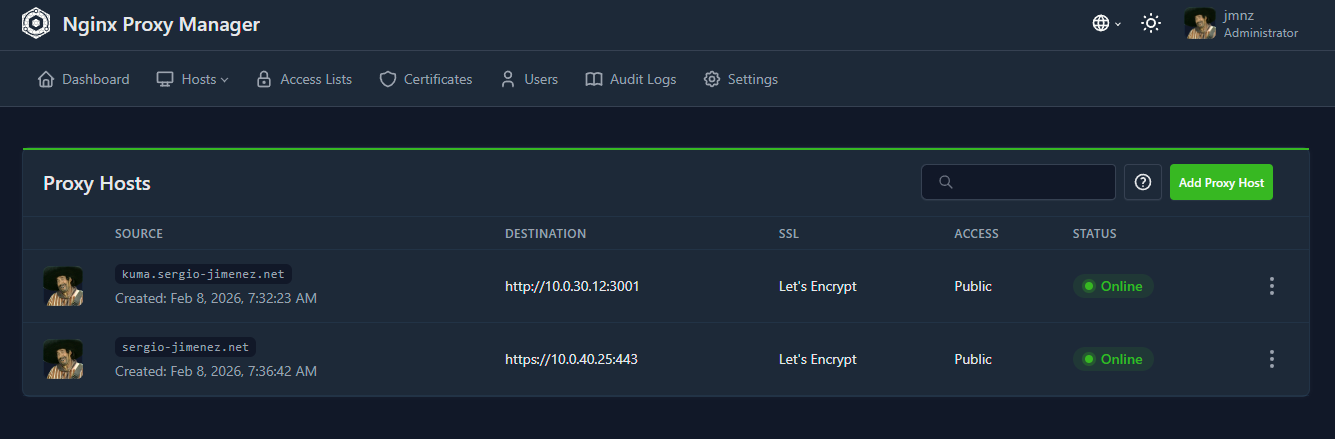
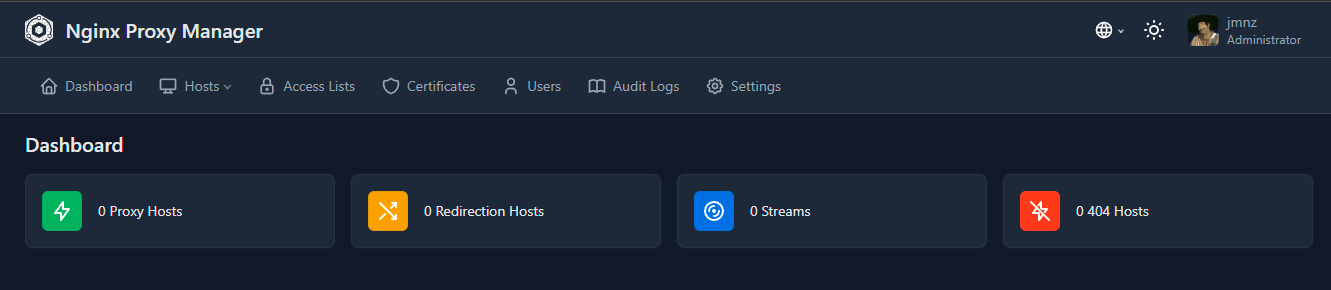
Then I would repeat the process for other hosts. The final picture is this dashboard were you can get at a glimpse the status of all your proxy hosts. |