
Introduction and Installation

Introduction
OPNsense is an open-source, FreeBSD-based firewall and routing platform designed to be both user-friendly and highly customizable. Built on a modular architecture, it offers a rich feature set often found in commercial offerings—including stateful firewalling, traffic shaping, intrusion detection/prevention, VPN support, captive portal functionality, load balancing, and more—delivered via an intuitive web interface and extendable through plugins. Born as a fork of pfSense (itself a descendant of m0n0wall) in January 2015, OPNsense emphasizes code quality, transparency, and a developer-friendly MVC-based framework to ensure maintainability, frequent security updates, and ease of contribution
Adjustment to Proxmox
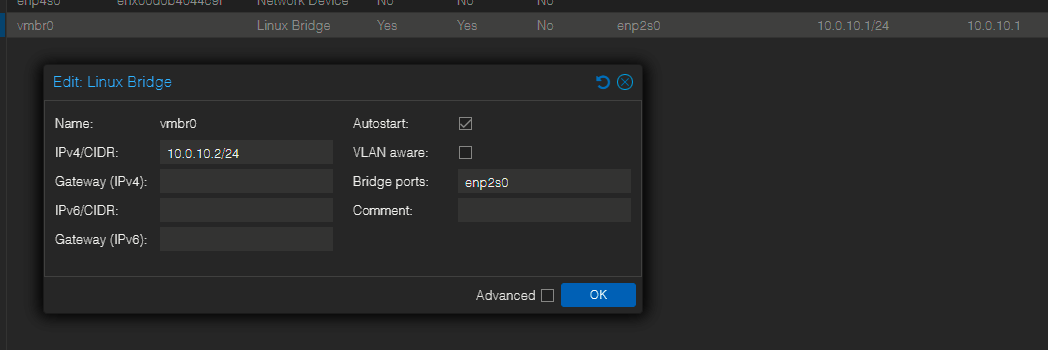
On the previous pages I setup Proxmox with mgmt. address of 10.0.10.1/24 and gateway 10.0.10.1 (itself). This is not correct and we will change this accordingly:
- OPNsense as the router, will have the .1 IP
- Proxmox will have mgmt. IP 10.0.10.10
- The gateway for now will be removed.
- Temporarily, the IP address of Proxmox will be changed to .2 until OPNsense has been installed.
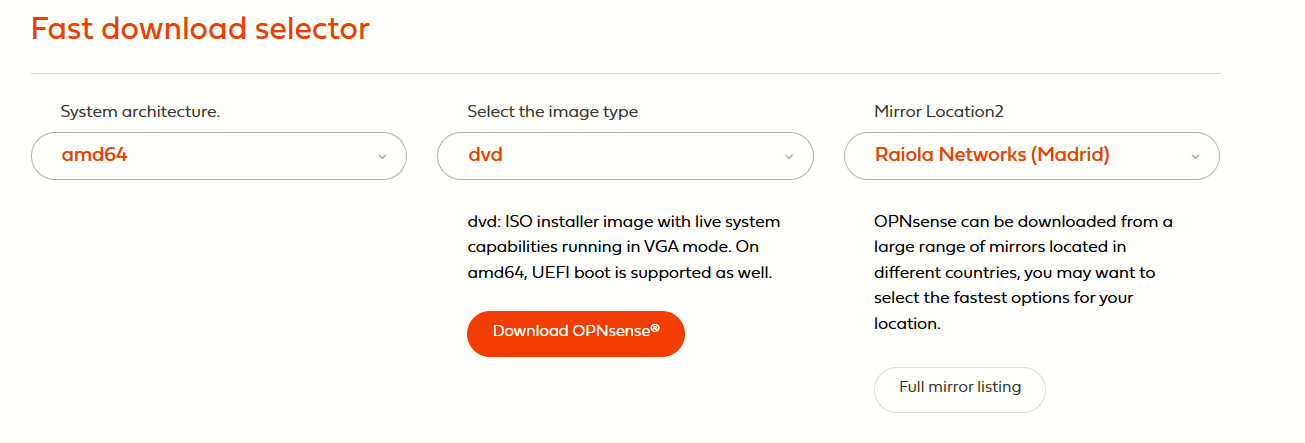
OPNsense Download
I will use the DVD (ISO) version:
OPNsense Installation
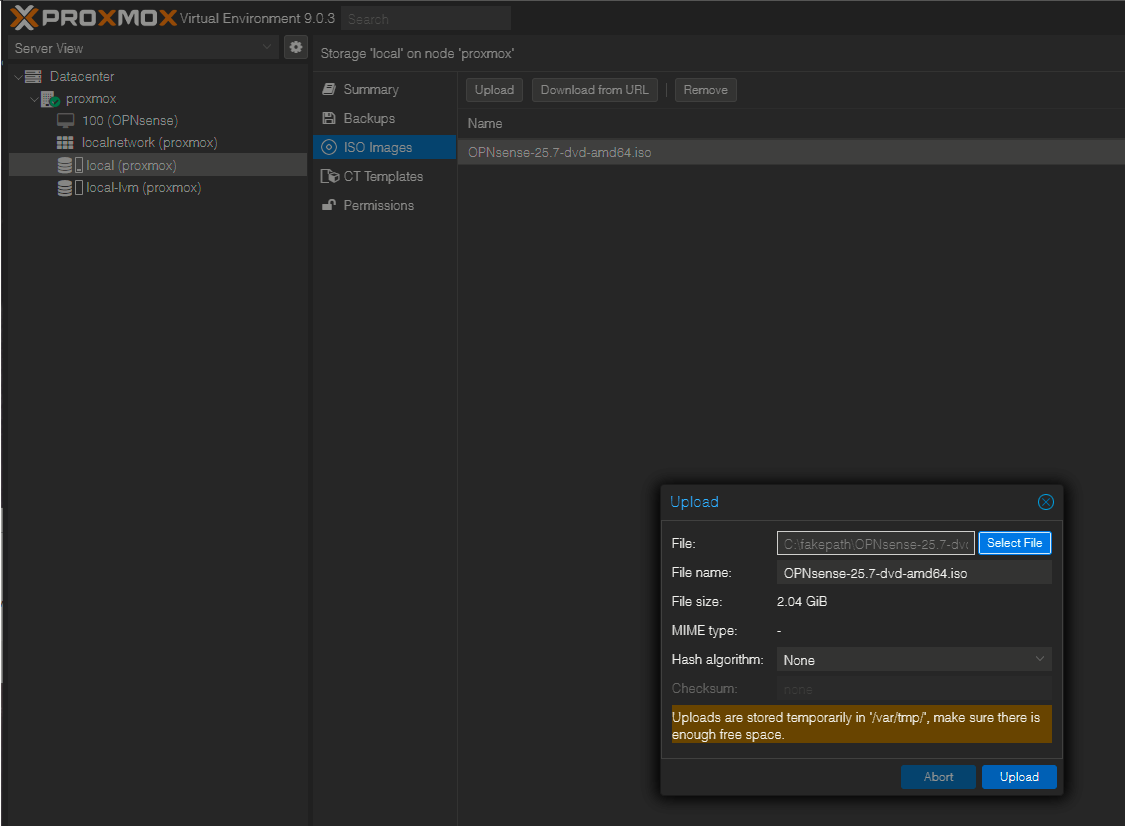
Copying the ISO to Proxmox
-
In Proxmox GUI go to Datacenter → proxmox → local (or other storage) → ISO Images.
-
Click Upload, select the OPNsense ISO, and upload it.
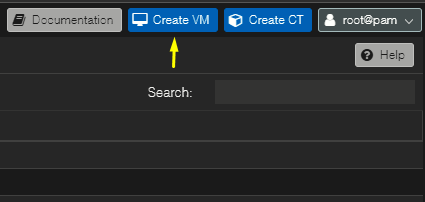
Create the OPNsense VM
To begin, click Create VM at the top right:
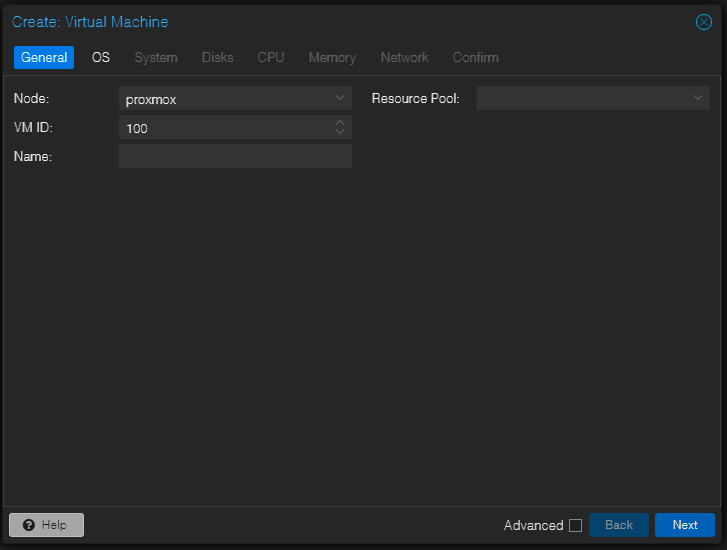
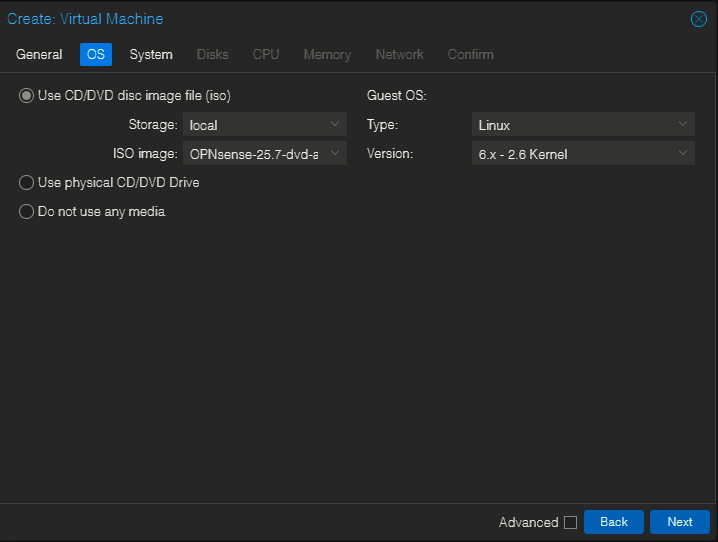
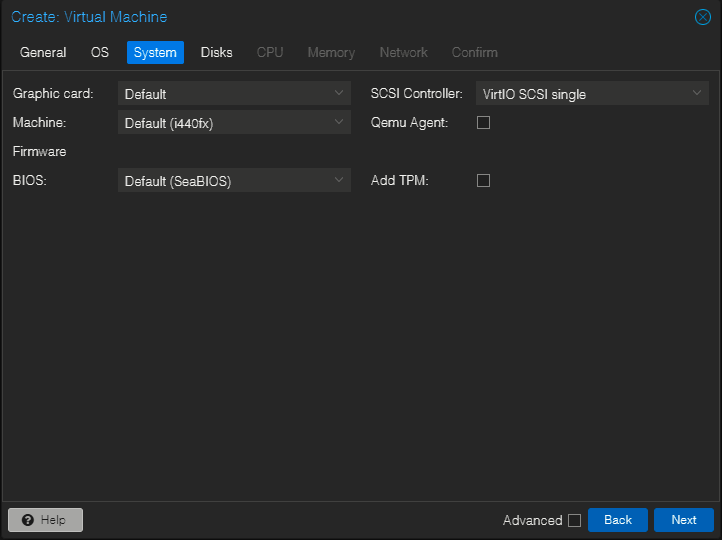
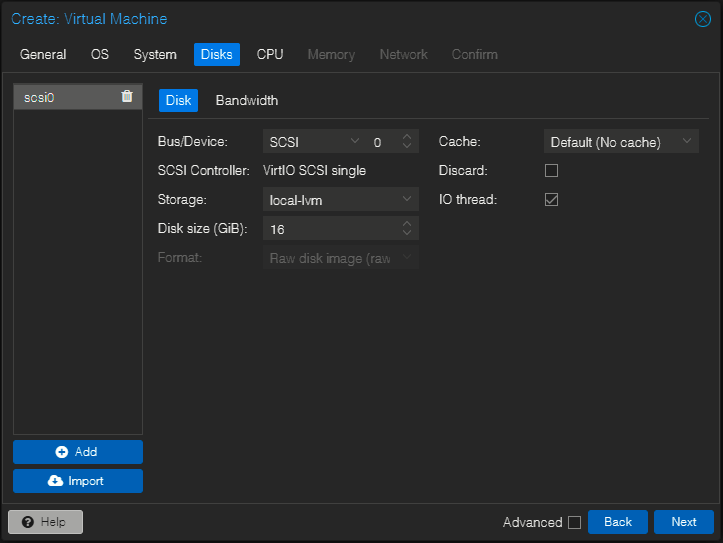
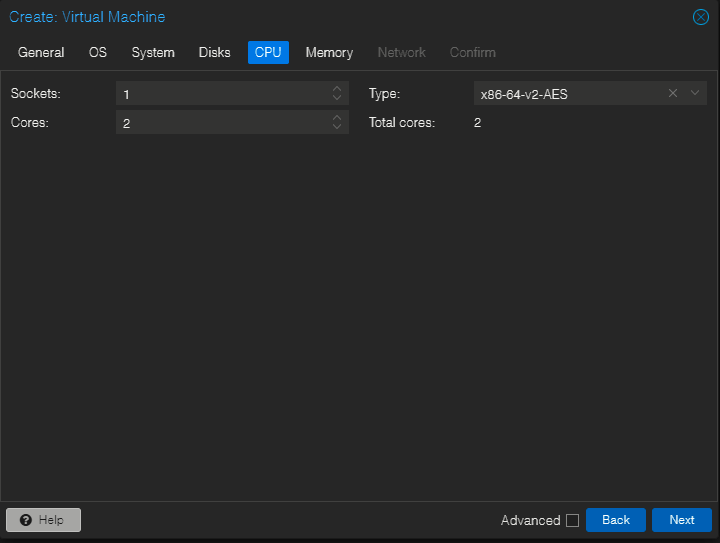
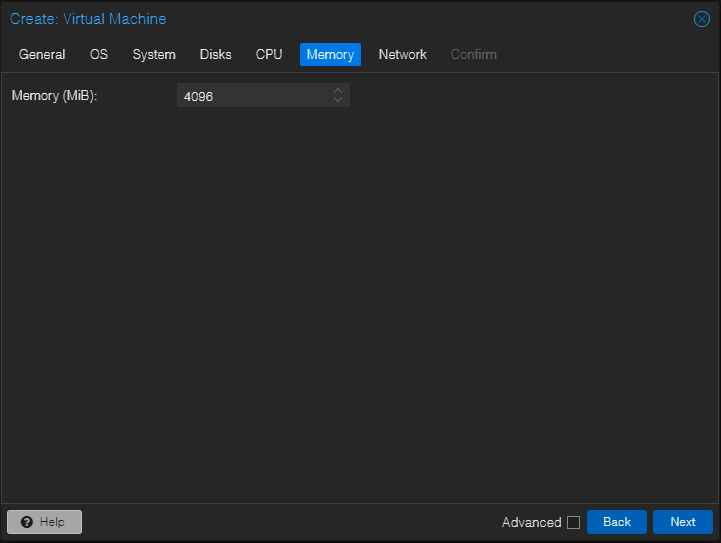
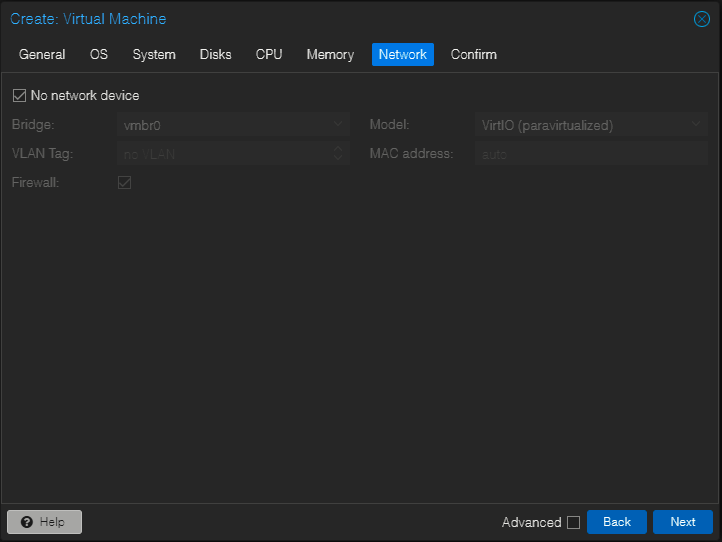
Then, the next settings are configured:
|
|
|
|
|
|
|
|
|
|
|
|
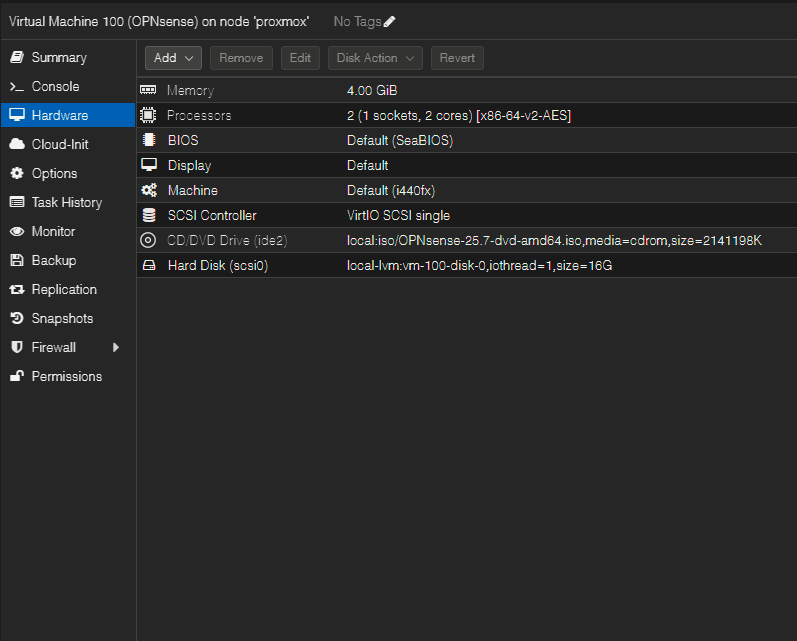
The OPNsense VM is started:
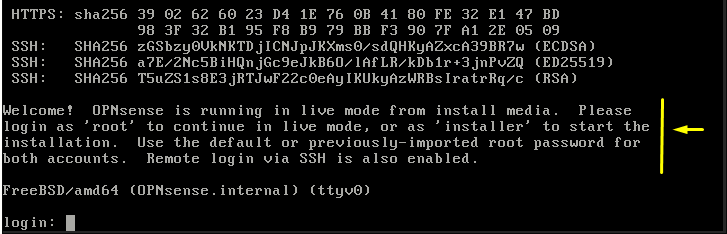
I will use "installer" as the login user and "opnsense" as the password to invoke the installer (I don't want it to be a live environment).
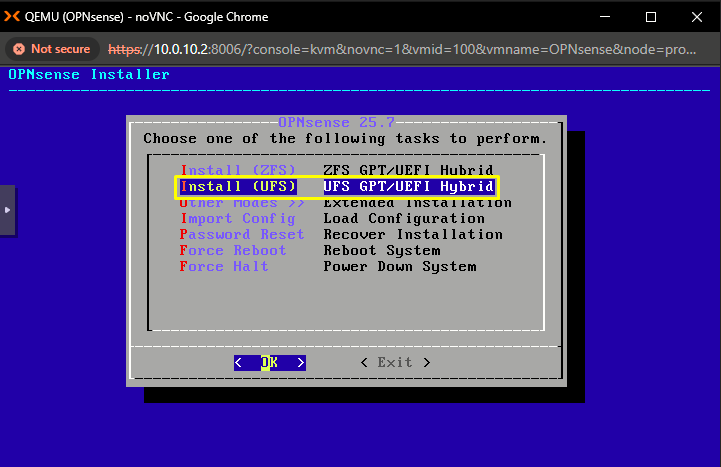
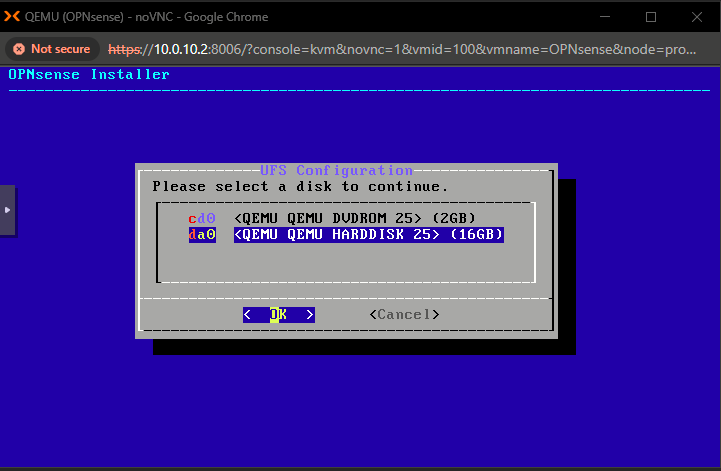
Here I will choose UFS since it is a lighter option for a mini PC. Next I will select the da0 disk (the one created at the VM creation).
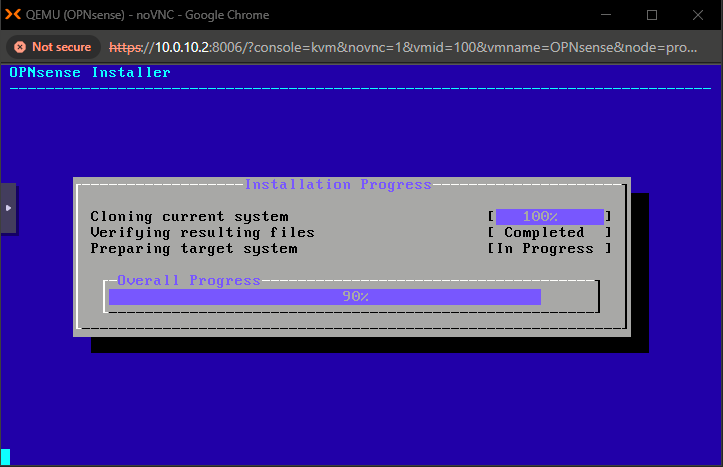
The installer will begin the installation.
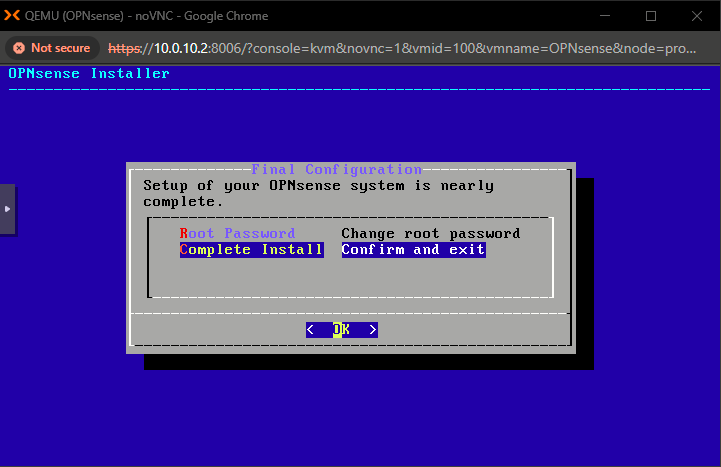
Before completing the installation I want to change the root password. Then, I can select Complete Install:
Sources
[HOWTO] OpnSense under virtualisation (Proxmox et.al.)
https://forum.opnsense.org/index.php?topic=44159.0
OPNsense Firewall Installation on Proxmox VE
https://www.zenarmor.com/docs/network-security-tutorials/opnsense-installation
Initial Installation & Configuration
https://docs.opnsense.org/manual/install.html