OpenWRT - Installation on Raspberry Pi 3 Model B
Introduction
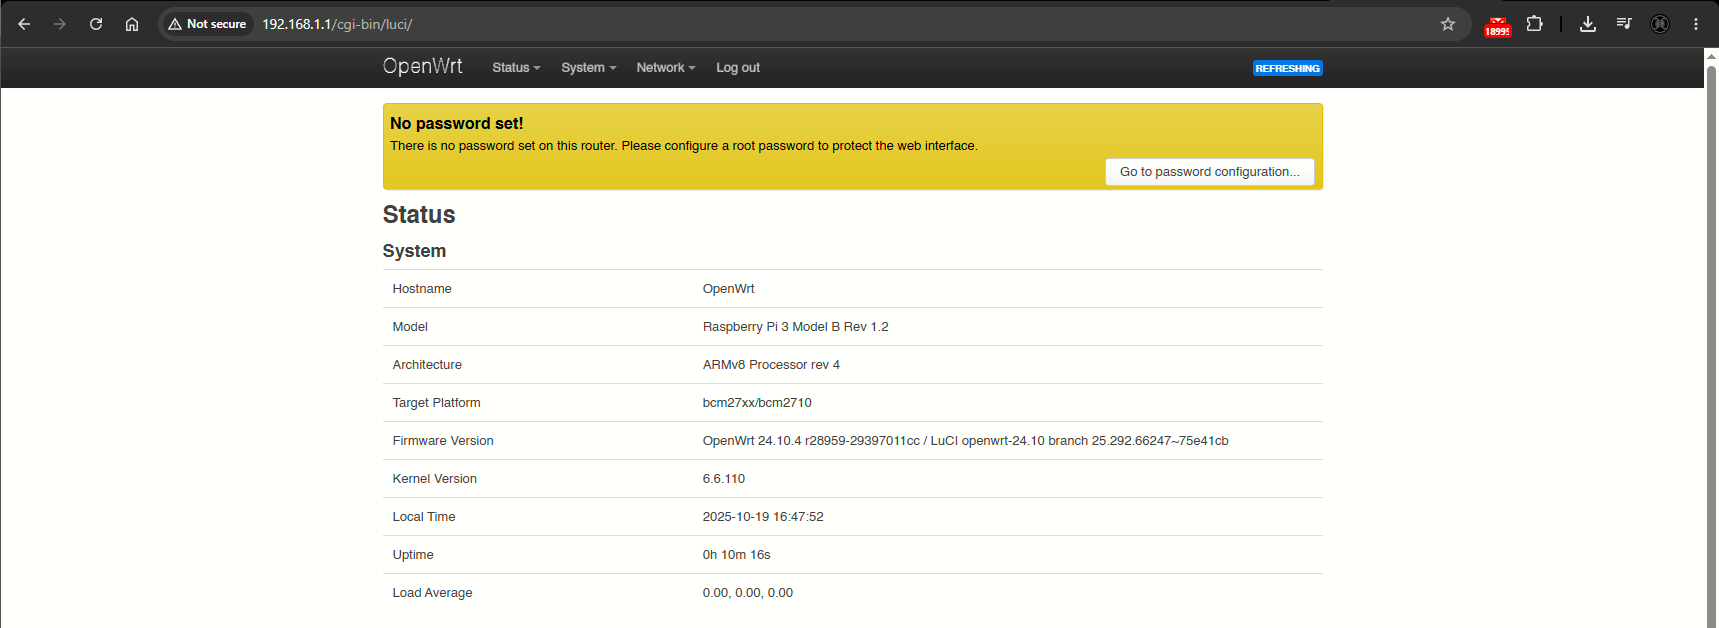
In the previous page of this chapter we saw an introduction to OpenWRT and also checked the doc page for the Raspberry Pi. There, we confirmed the latest available release for the Pi 3 Model B which is 24.10.4 (as of May 2026).
Download and Flashing
Following the official instructions:
-
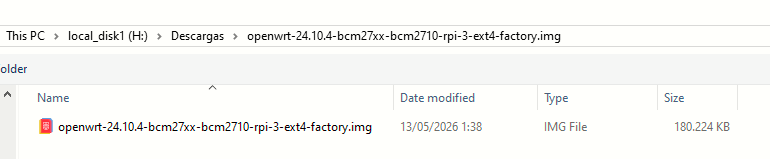
Download the appropriate bcm27xx image for your Raspberry Pi (can be done from the Table of Hardware)
-
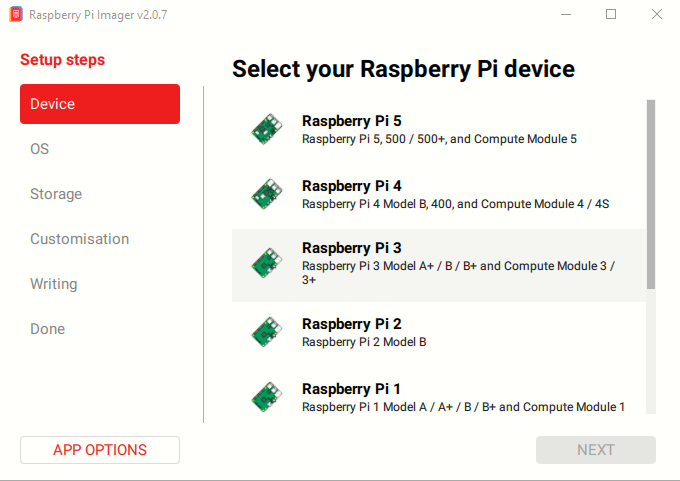
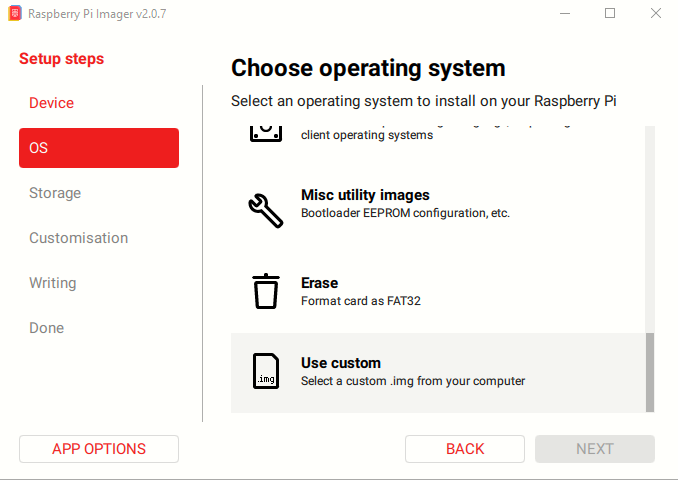
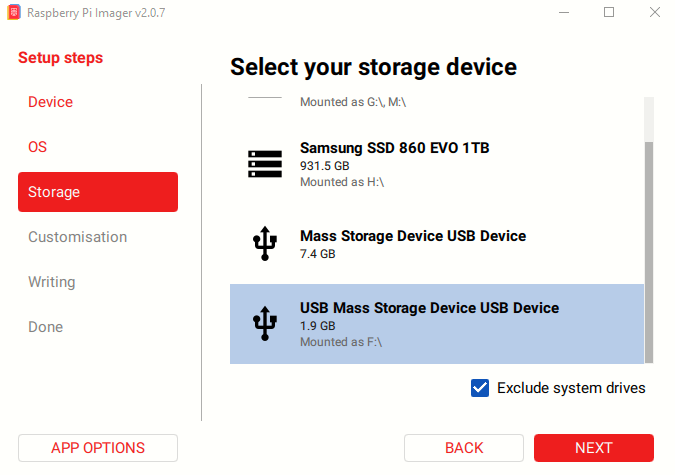
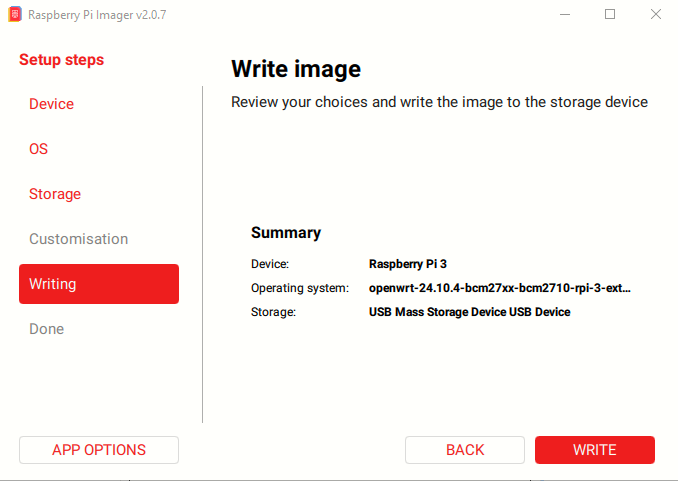
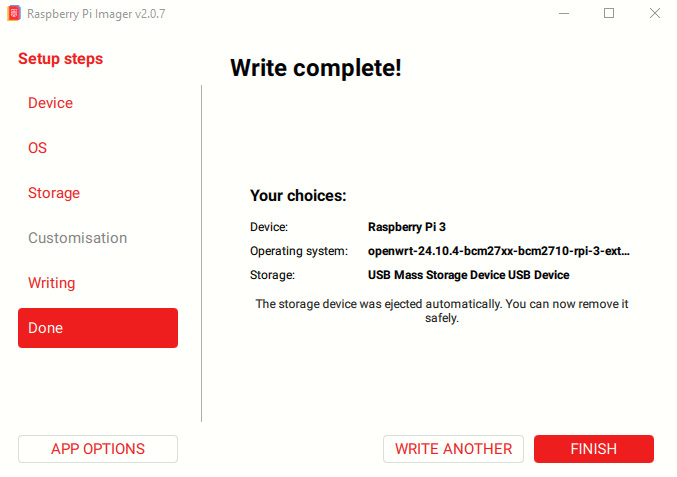
Flash the image to a micro SD card using a disk imager, such as the open source one from the Raspberry Pi team.
-
Once complete, insert the SD card into your Raspberry Pi and power up. OpenWrt will boot.
|
|
|
|
|
|
|
|
|
Important Notes
Setting the Country Code under Network → Wireless in LuCI does not work with the Raspberry Pi, you will need to set the country code in the latest Raspberry Pi OS. Then you can go back to OpenWrt where the new country code will be used.
Getting Started
Once the SD is inserted on the Pi and it boots up, we need a way to access the WebUI. Best way it to connect and Ethernet cable to the Pi and to a PC. The PC will be given an IP address on the 192.168.1.0/24 network via OpenWRT LAN interface DHCP.
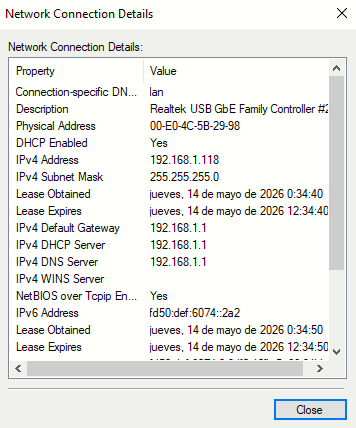
This way, we can access the LuCi WebUI at https://192.168.1.1
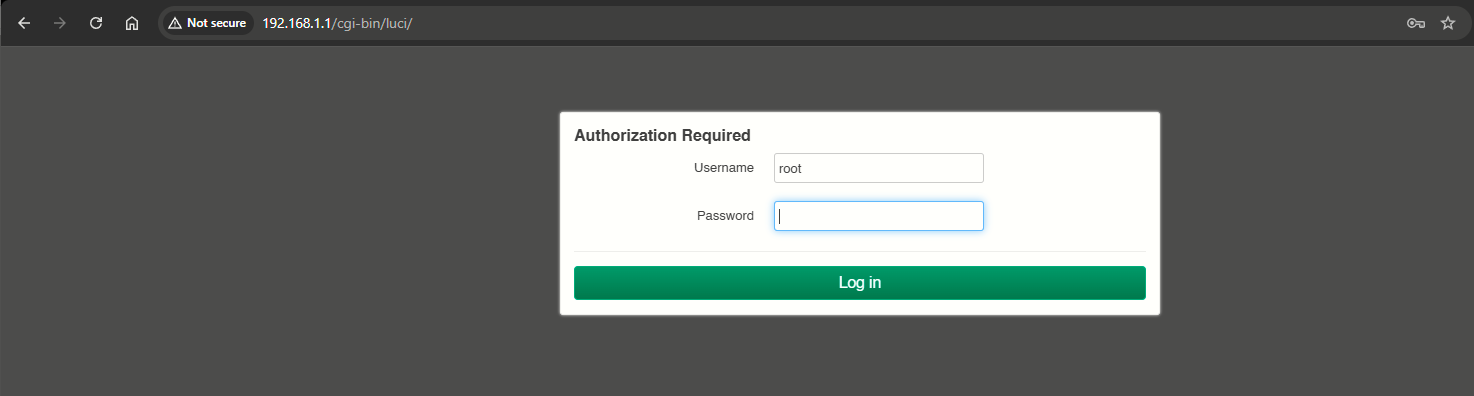
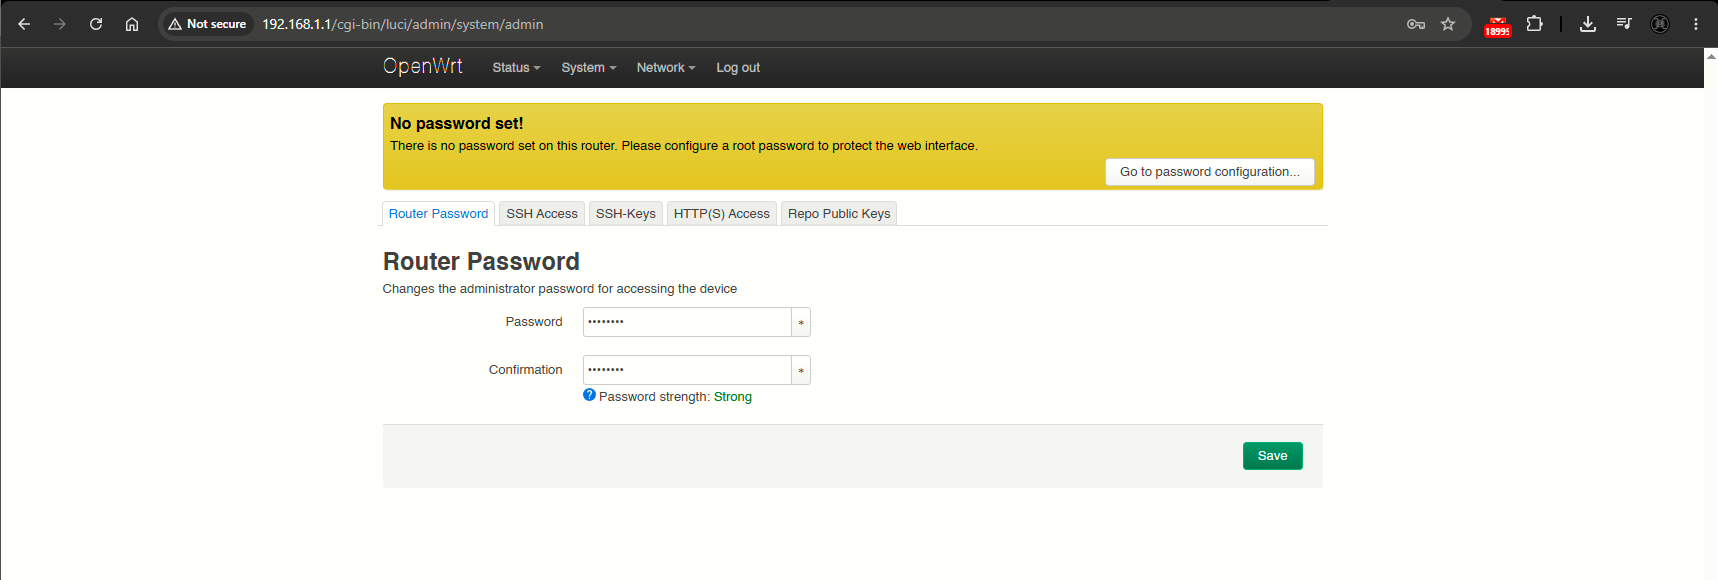
We can click Log in without entering any password because there isn't any by default. In fact this is the first thing we'll do. After accessing, click on the Go to password configuration... on the banner