1. EVE-NG Pro Installation on VMware Workstation
Introduction
EVE-NG software is available in the ISO file format. It can be used to deploy a VM in hypervisors like VMware Workstation. Please note that installing EVE as a Virtual Machine (VM) will mean any nodes deployed within EVE will be nested. Nested virtualization causes degraded performance in deployed nodes. This should be fine for lab purposes as long as the host meets or exceeds the resource requirements for the deployed nodes.
EVE-NG can also be installed directly on physical hardware, without a hypervisor, using the provided ISO image. This is referred to as a “bare metal” install and is the most recommended method of installing EVE-NG.
System Requirements
The EVE-NG hardware priorities are:
- CPU, and as more CPU cores you have assigned for EVE server as better.
- SSD, no external drives.
- RAM
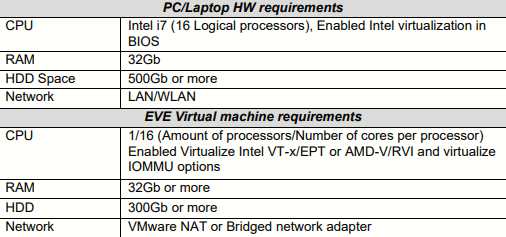
Prerequisites (applicable to my case with a Ryzen 3700X and 128GB RAM, and installing EVE-NG as a VM on VMware Workstation):
- CPU: AMD CPU supporting AMD-V/RVI
- OS: Windows 10
- VMware Workstation
EVE Management Networks
Please make sure if these subnets are NOT used in your network outside of EVE.
- 172.29.129.0/24 (NAT Interface)
- 172.29.130.0/24 (Cluster VPN subnet, wg0 interface)
- 172.17.0.0/16 (Dockers consoles)
Installation on VMware Workstation
Step 1: Download the ISO (latest)
Step 2: EVE VM Setup and Settings:
- I will install the operating system later.
- Guest OS: Linux > Ubuntu 64-bit
- Nº of processors: 16. Cores per processor: 1
- RAM: 64 GB (65536 MB)
- Network Adapter: Bridged. Internet and DNS reachability is a MUST.
- Disk Capacity: 500 GB and Store virtual disk as a single file.
After finishing, click on Customize Hardware, and on Processors, make sure Virtualize IntelVT-x/EPT or AMD-V/RVI is checked.
On New CD/DVD (SATA) select the ISO previously downloaded (in this case - eve-pro-prod-bm-6.4.0-13-full.iso).
Finish the VM creation.
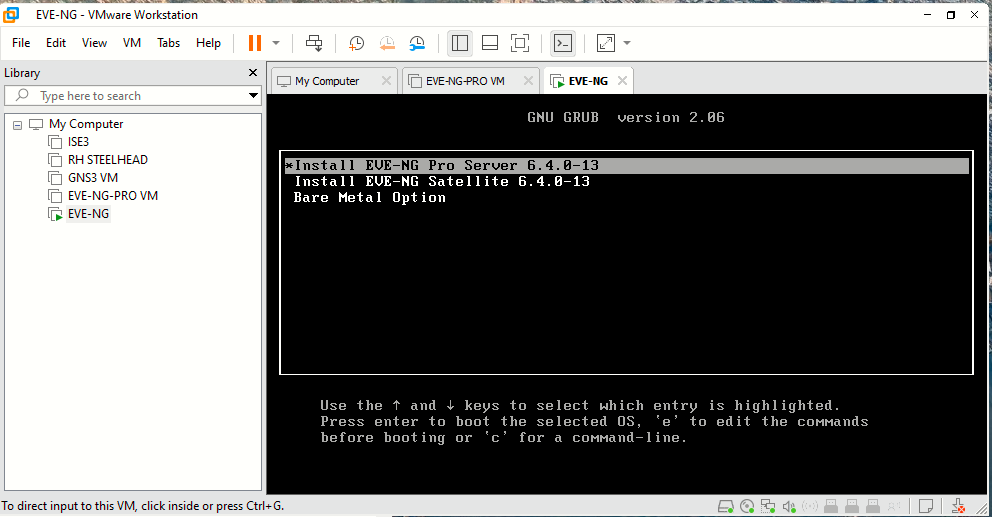
Step 3: Boot the VM and begin EVE-VM installation.
Choose first option:
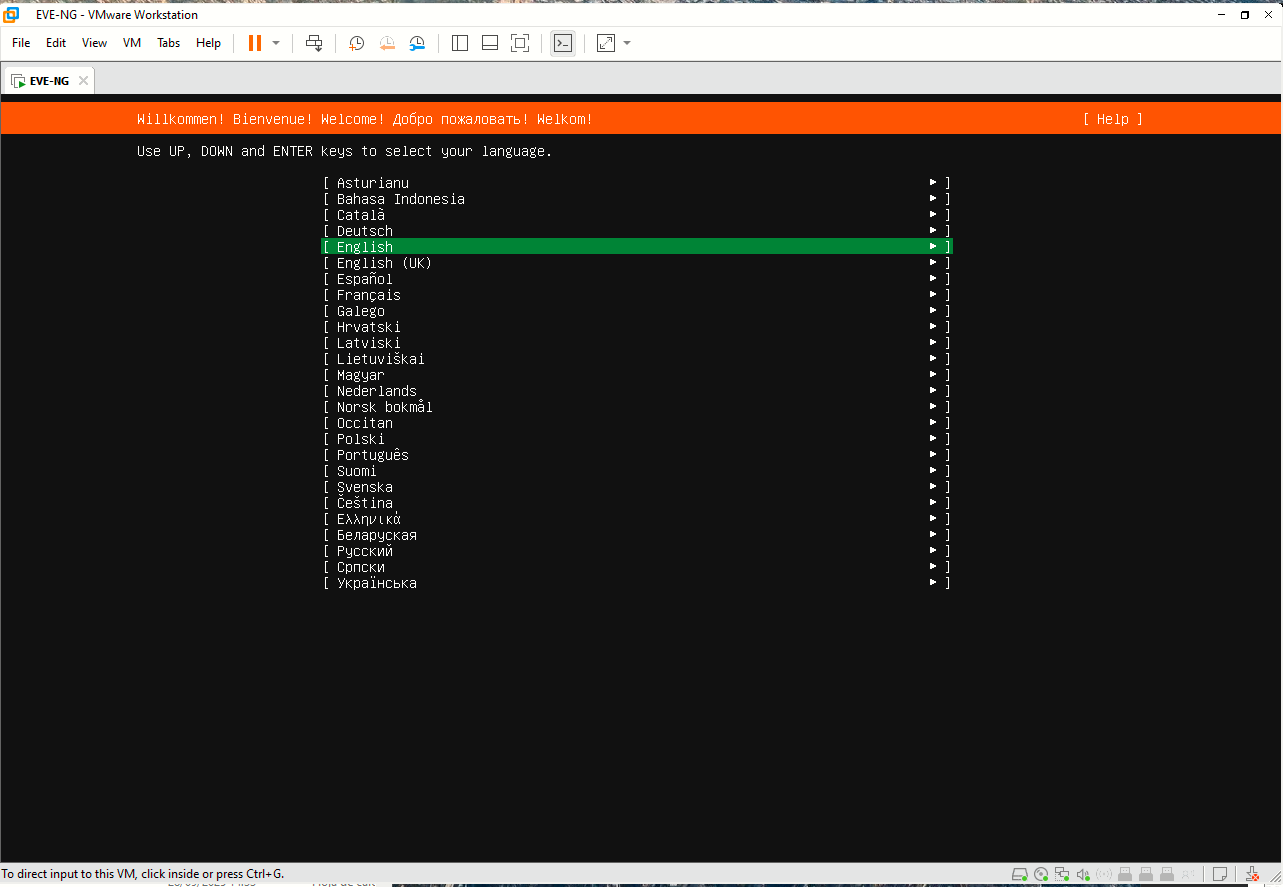
Next screen, select English as language:
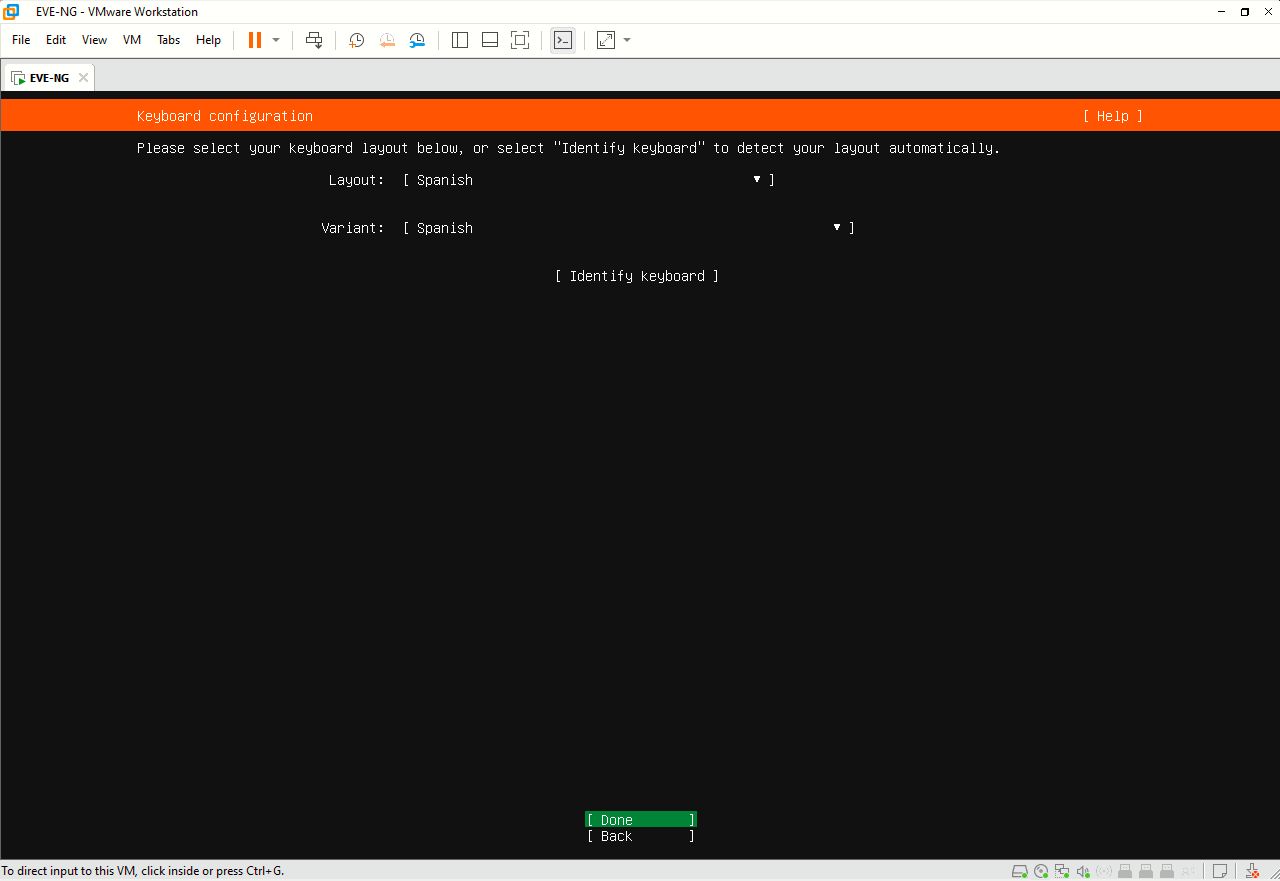
Change keyboard layout to Spanish:
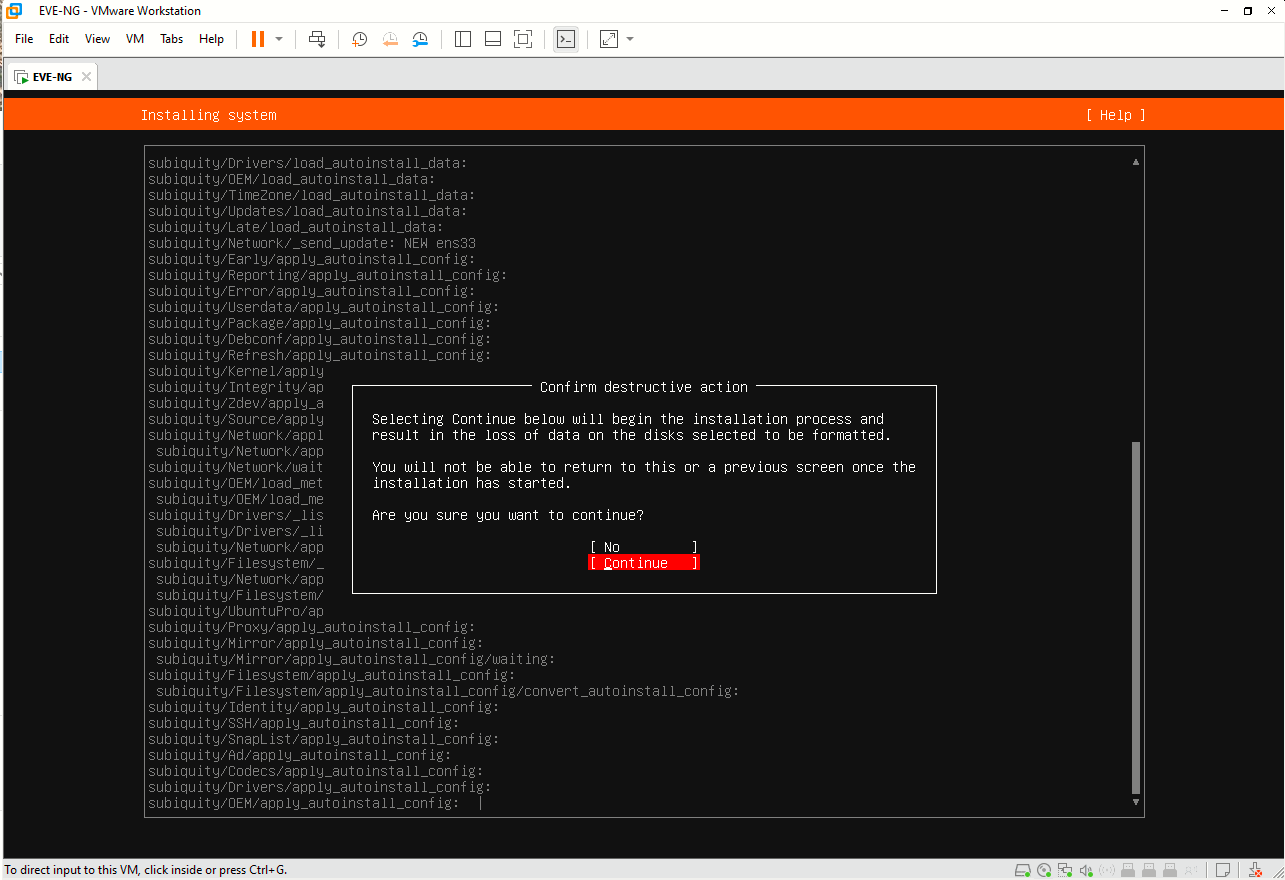
Select "Continue" on the next screen:
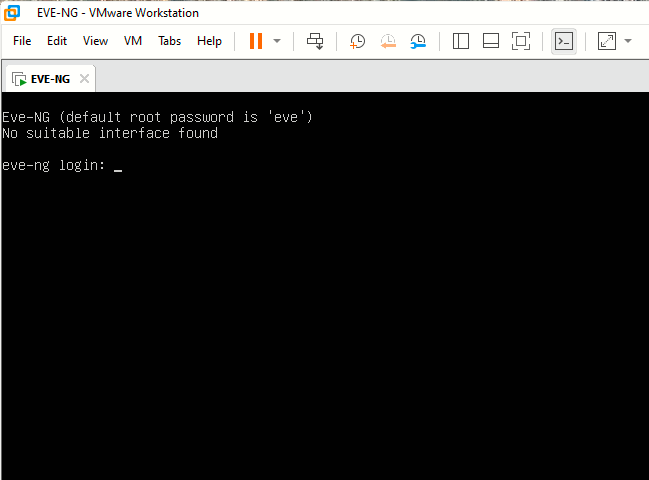
Wait until the login prompt appears like this and login with root/eve:
Change the root password, set hostname, NTP, IP address configuration (DHCP or static). After this, eve-ng is rebooted.
Step 4: Verifying the installation
First of all, when EVE is rebooted, do an apt update/apt upgrade and then reboot.
Then, type dpkg -l eve-ng-pro:

Accessing the GUI
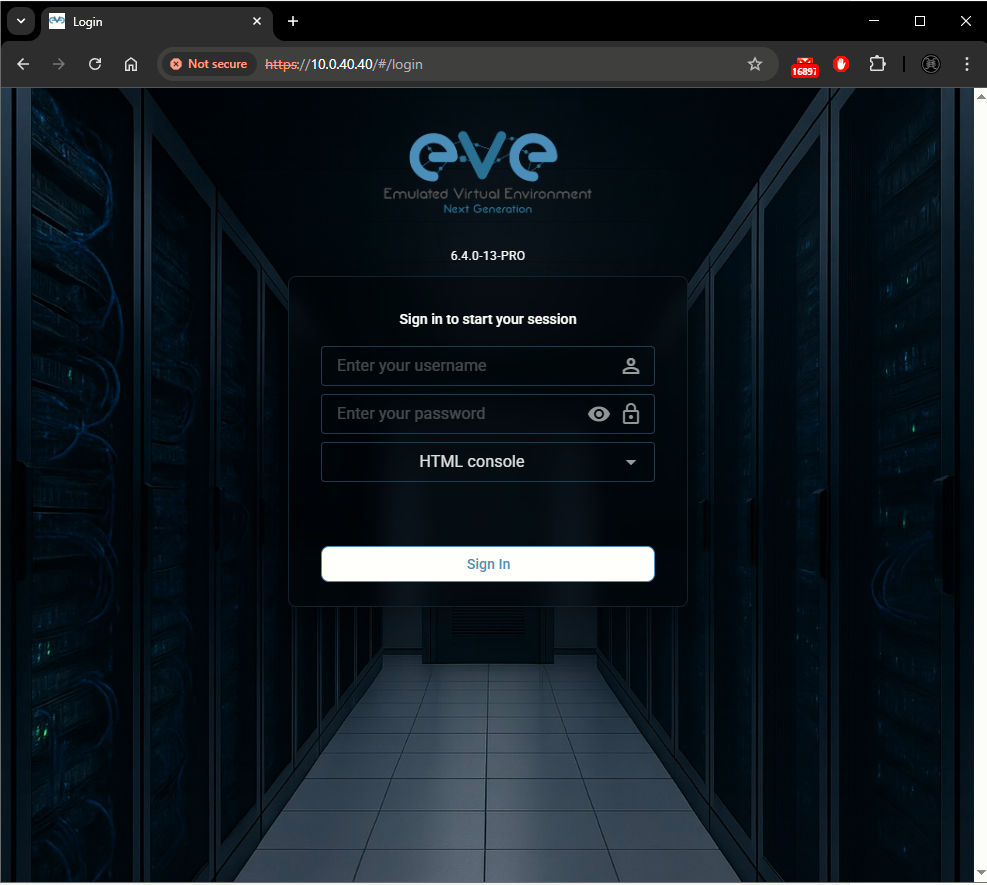
I can see with the command ip -h address that EVE has been given the IP 10.0.40.40 hence I can access the GUI at https://10.0.40.40 with admin/eve